
Interior architectural visualization / process case study
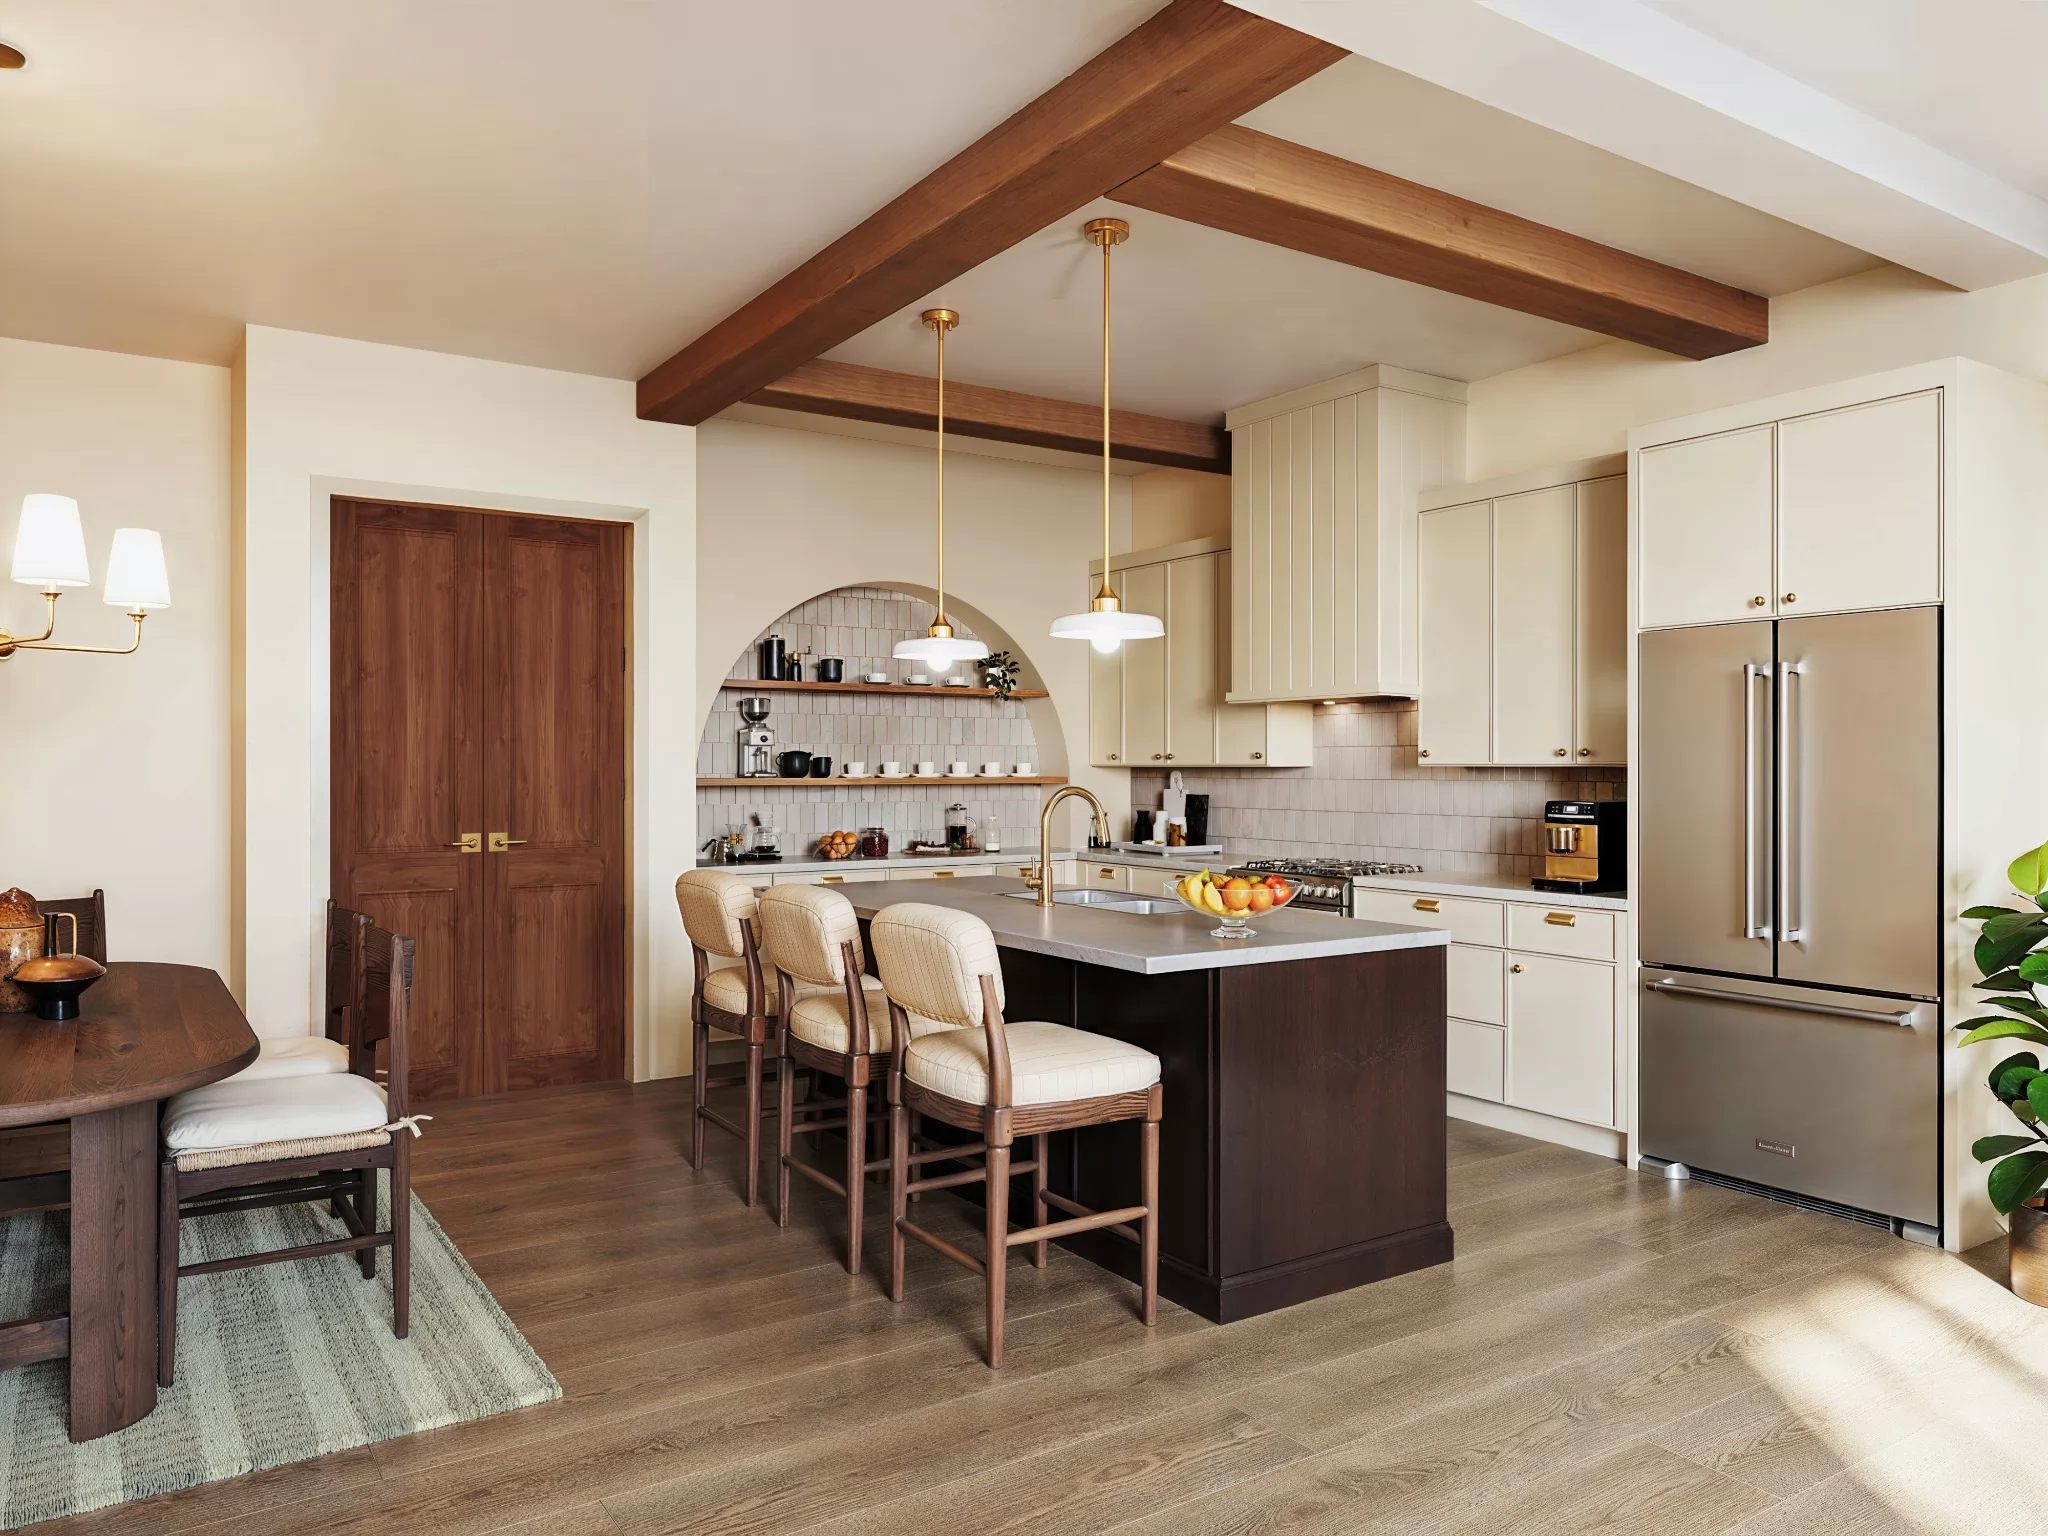
For this kitchen and dining area, we developed a 3D visualization from the supplied plans, finish samples and product references.
The project developed across two briefs. First, we modelled and rendered the original design. When a revised brief arrived, we updated the scene and produced a new visualization. Below, each brief is shown with its own working 3D scene and rendering, followed by a look at how we built and refined the images.
The original brief and earlier rendering
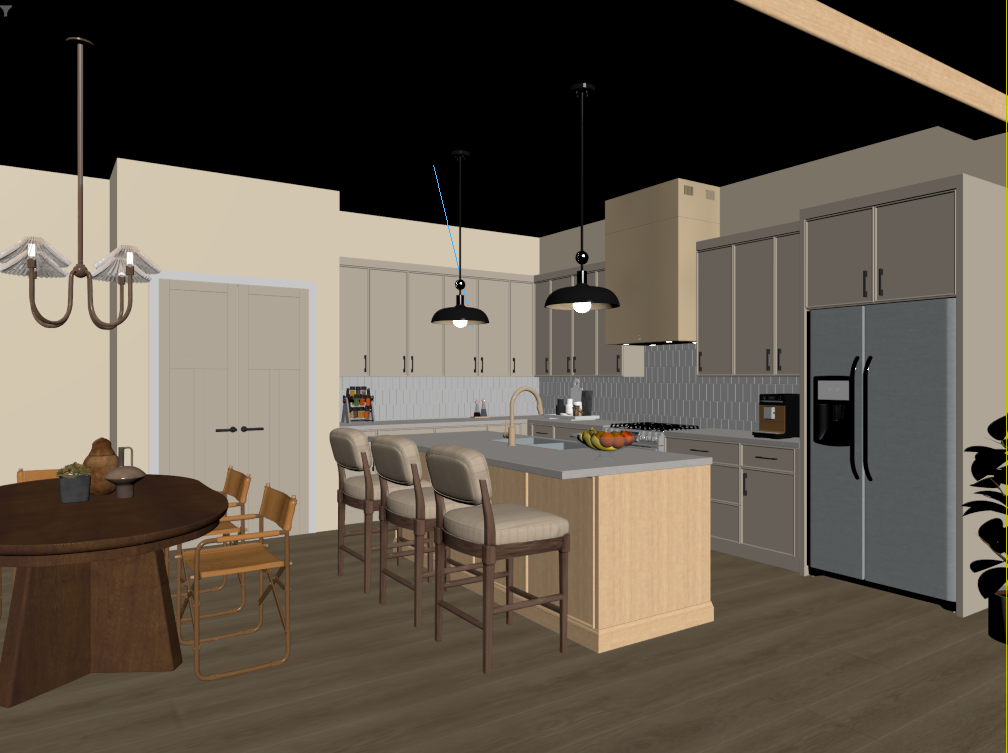
The first brief defined the layout, cabinet finishes, stone, flooring, tile pattern, furniture and lighting. We brought those specifications together in a complete 3D scene, then produced the earlier rendering. The screenshot below shows the actual working model behind that image, before the later design changes.
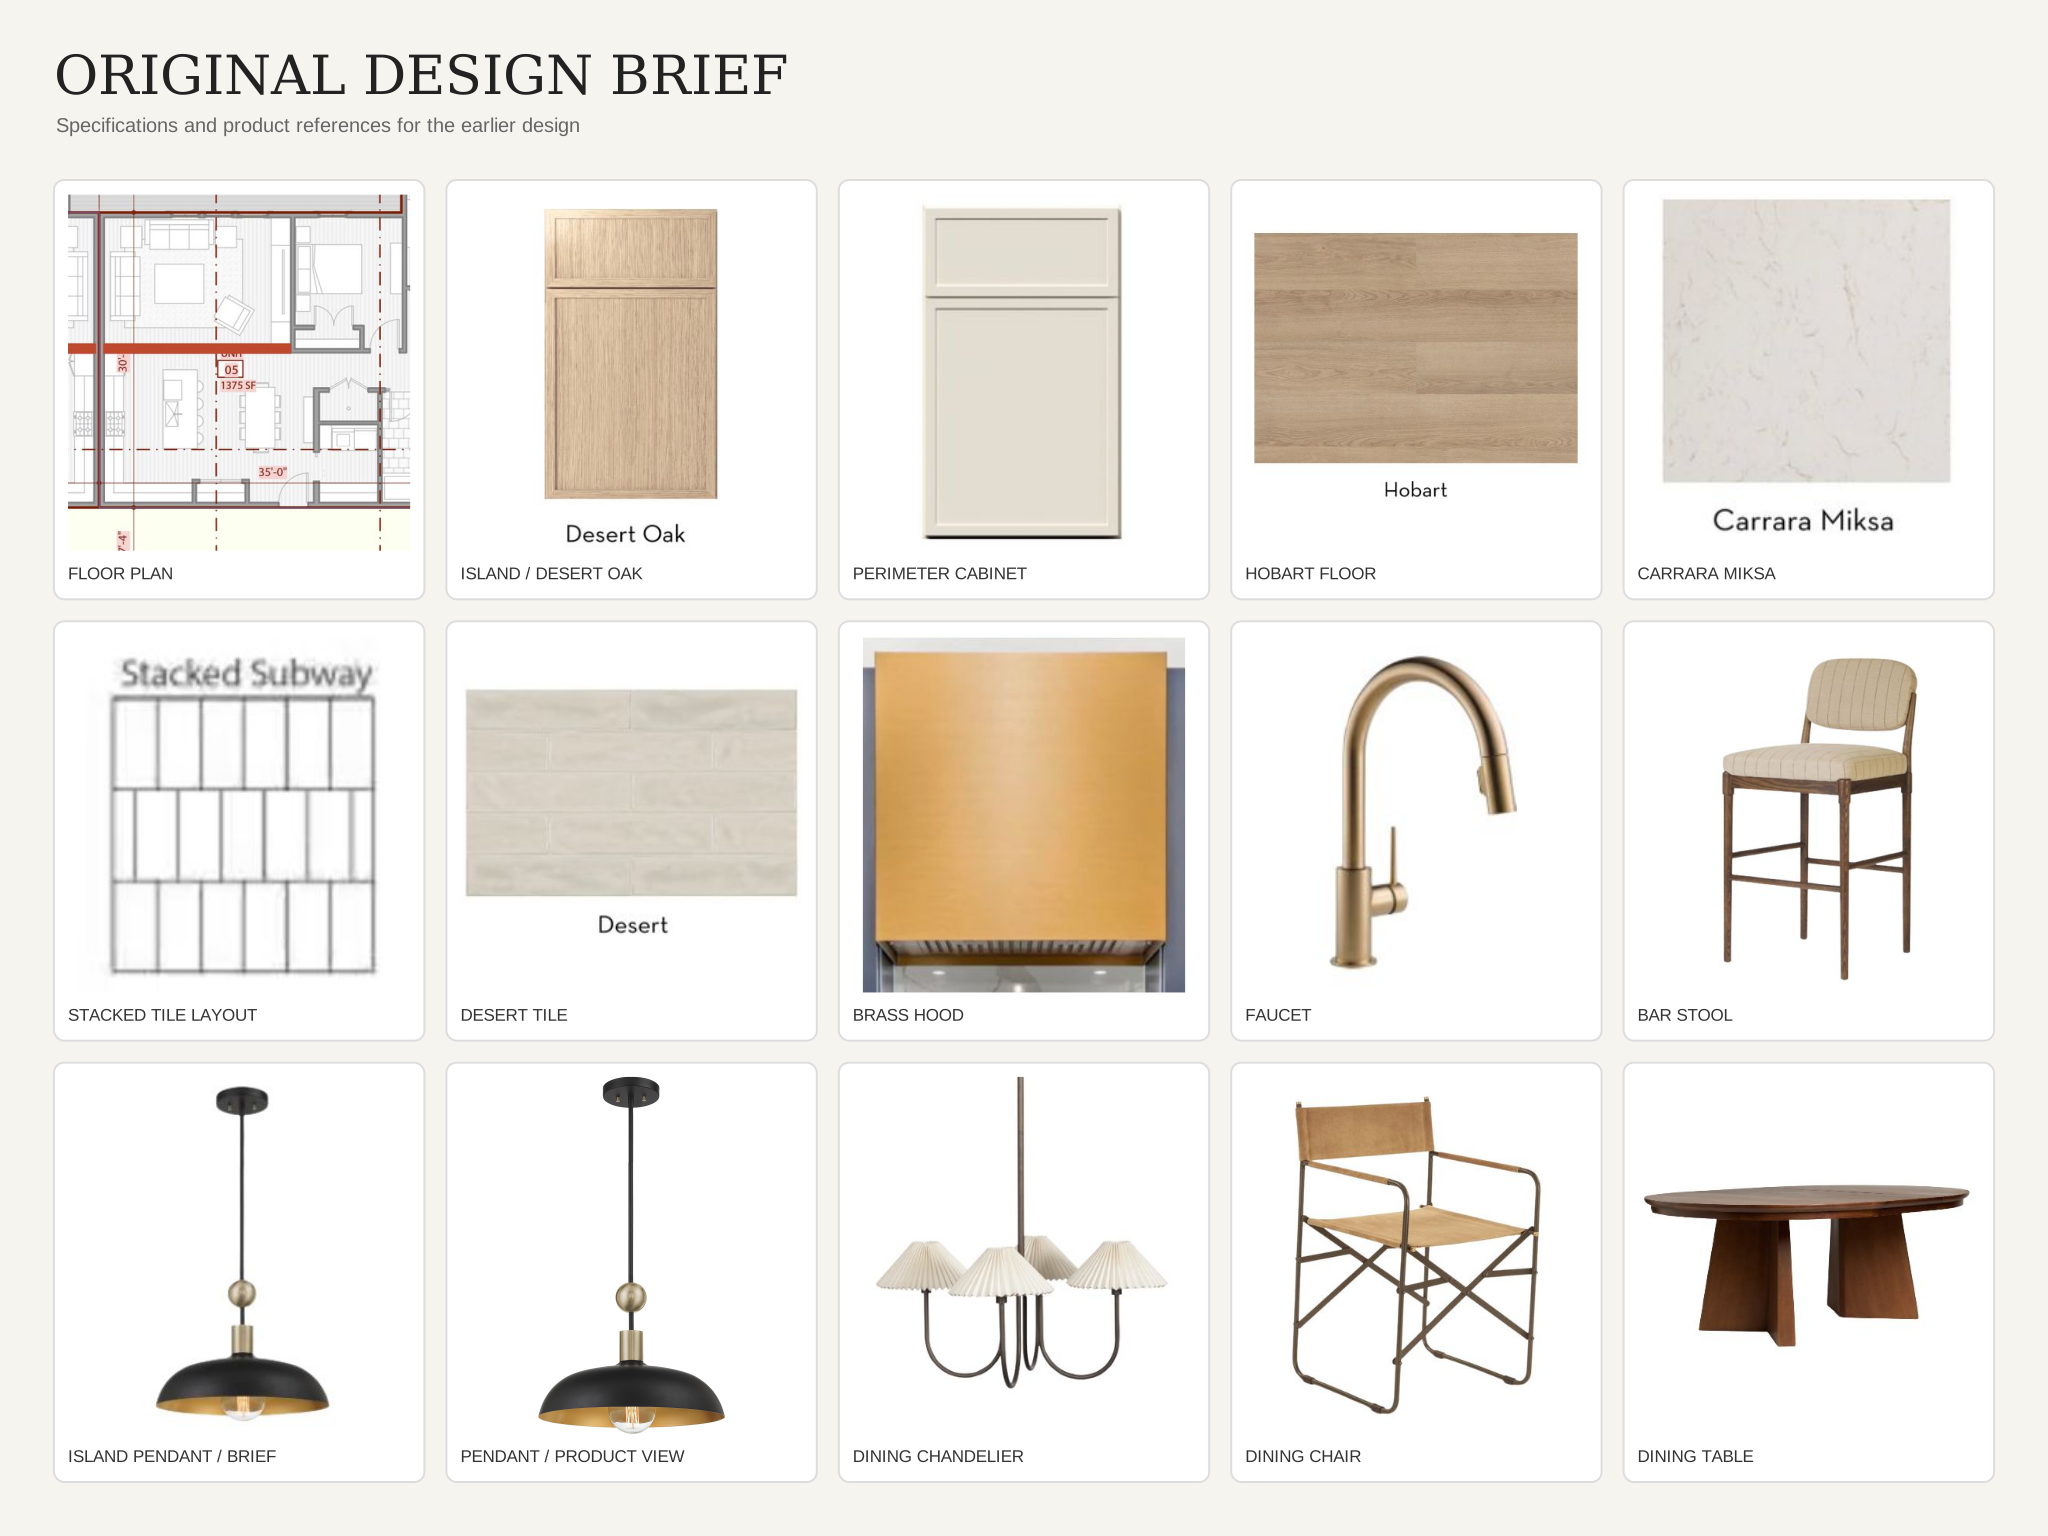
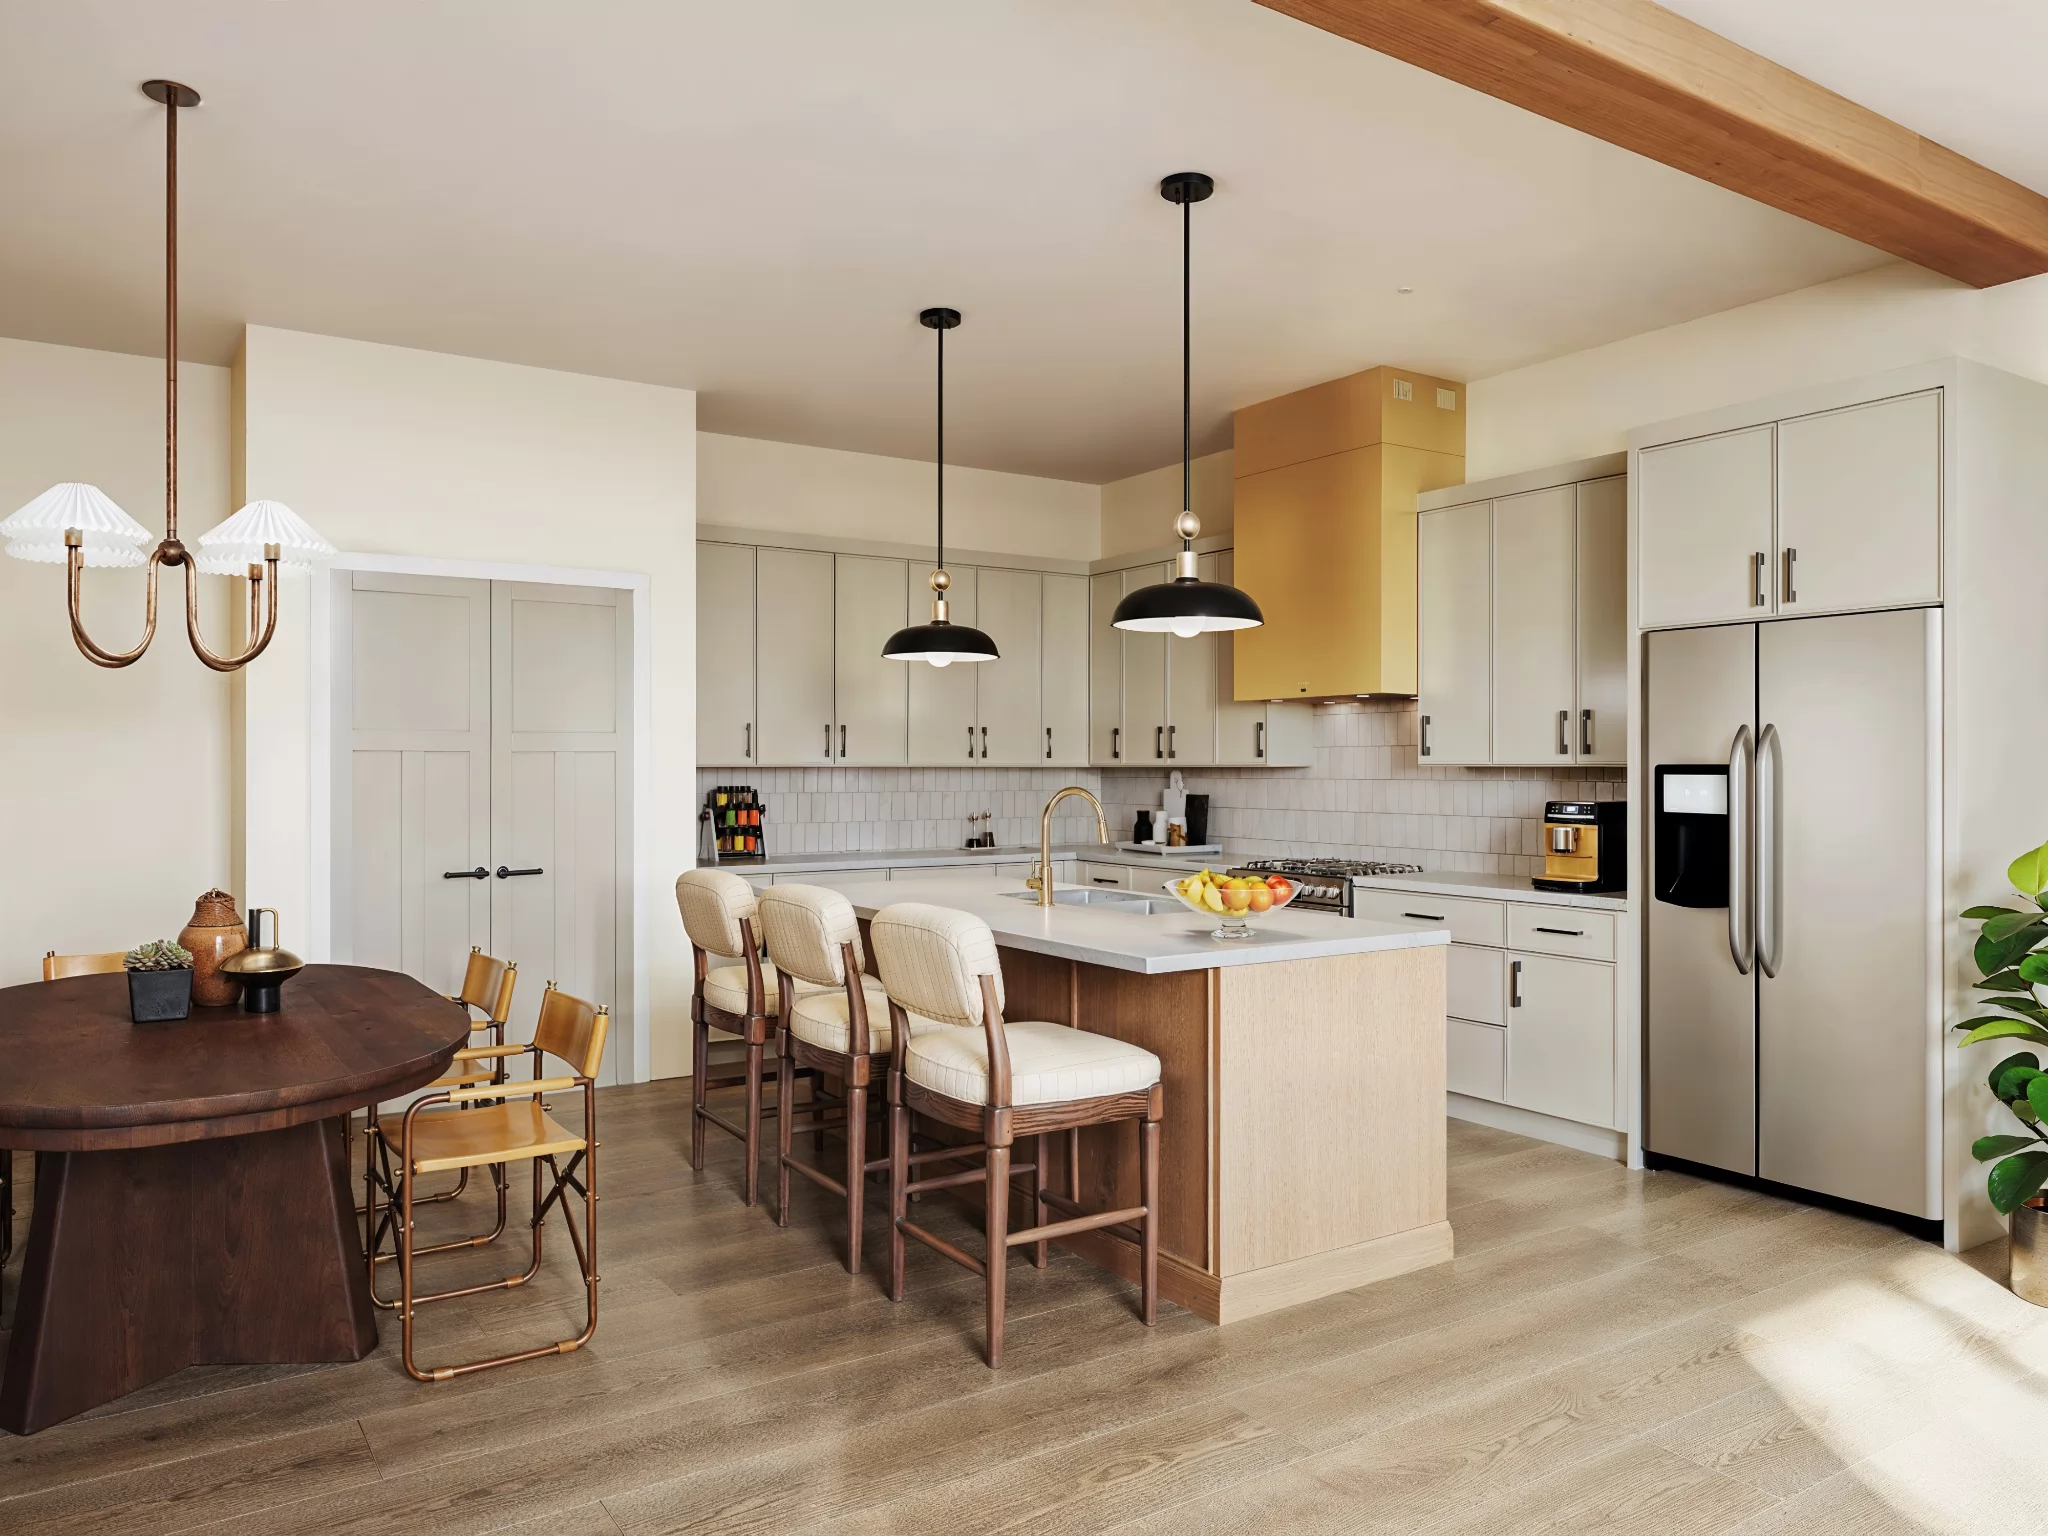
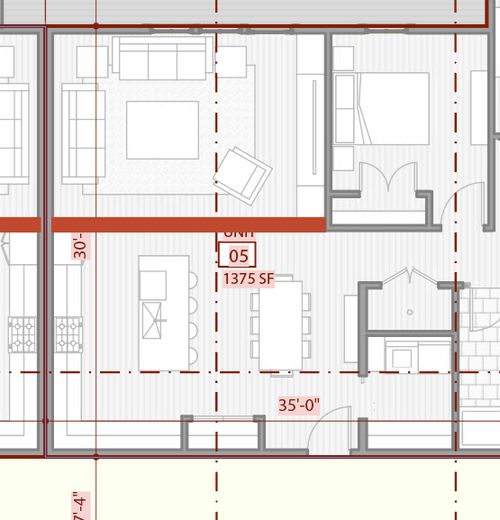
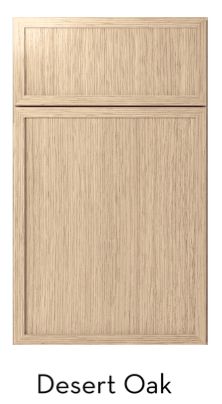
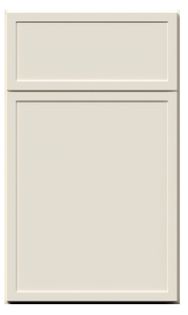
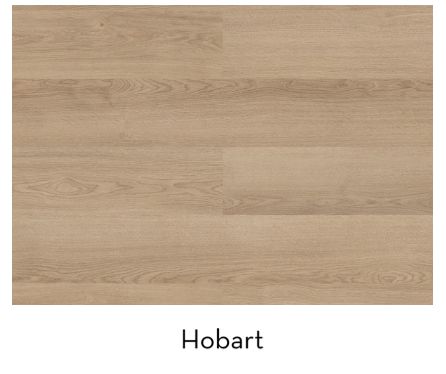
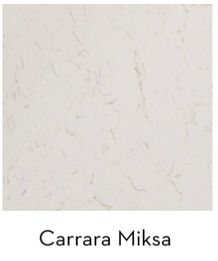
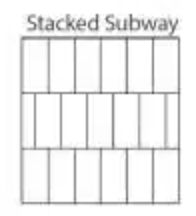
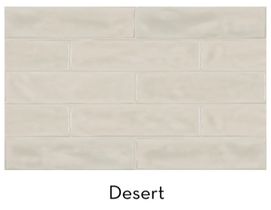
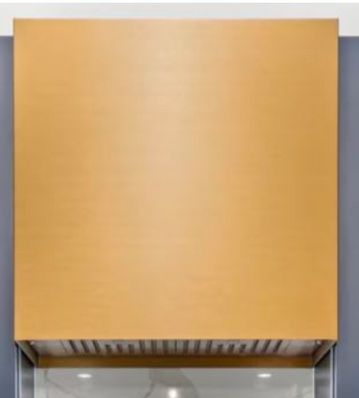
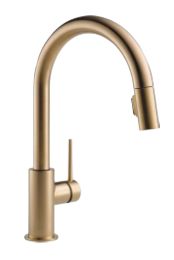
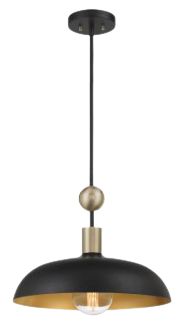
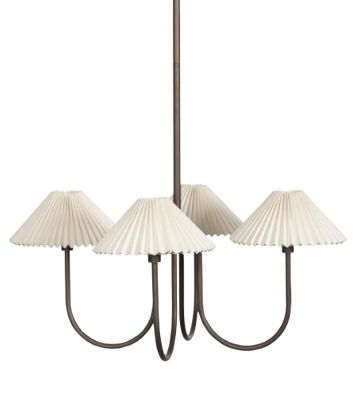
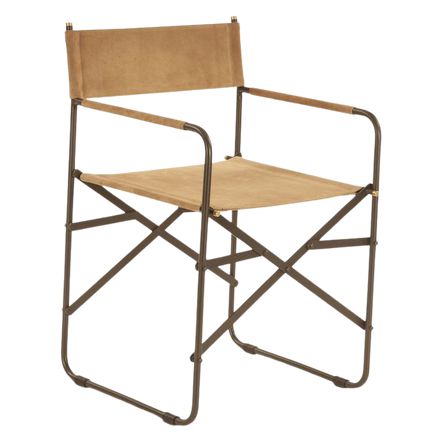
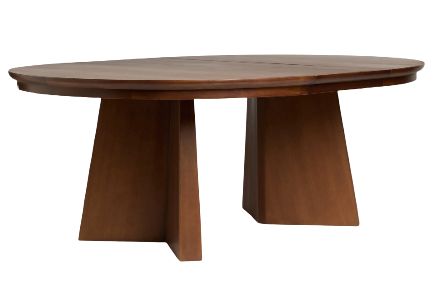
Original brief references. Select an image to inspect it, or view the earlier rendering in full.
Updating the scene as the design changes
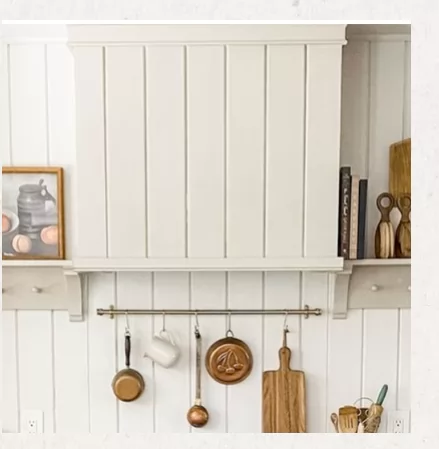
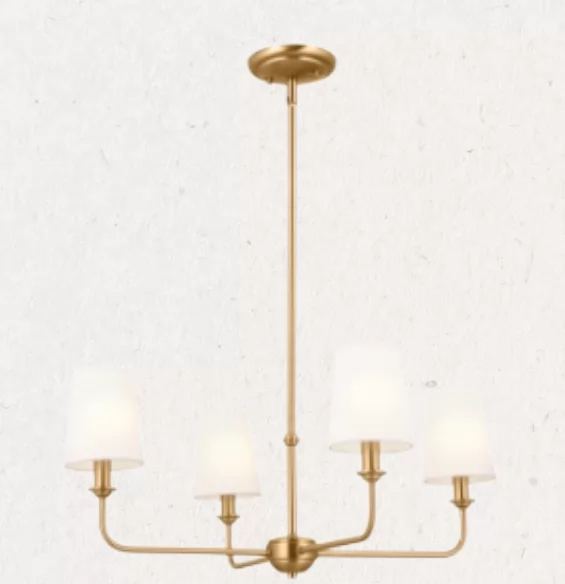
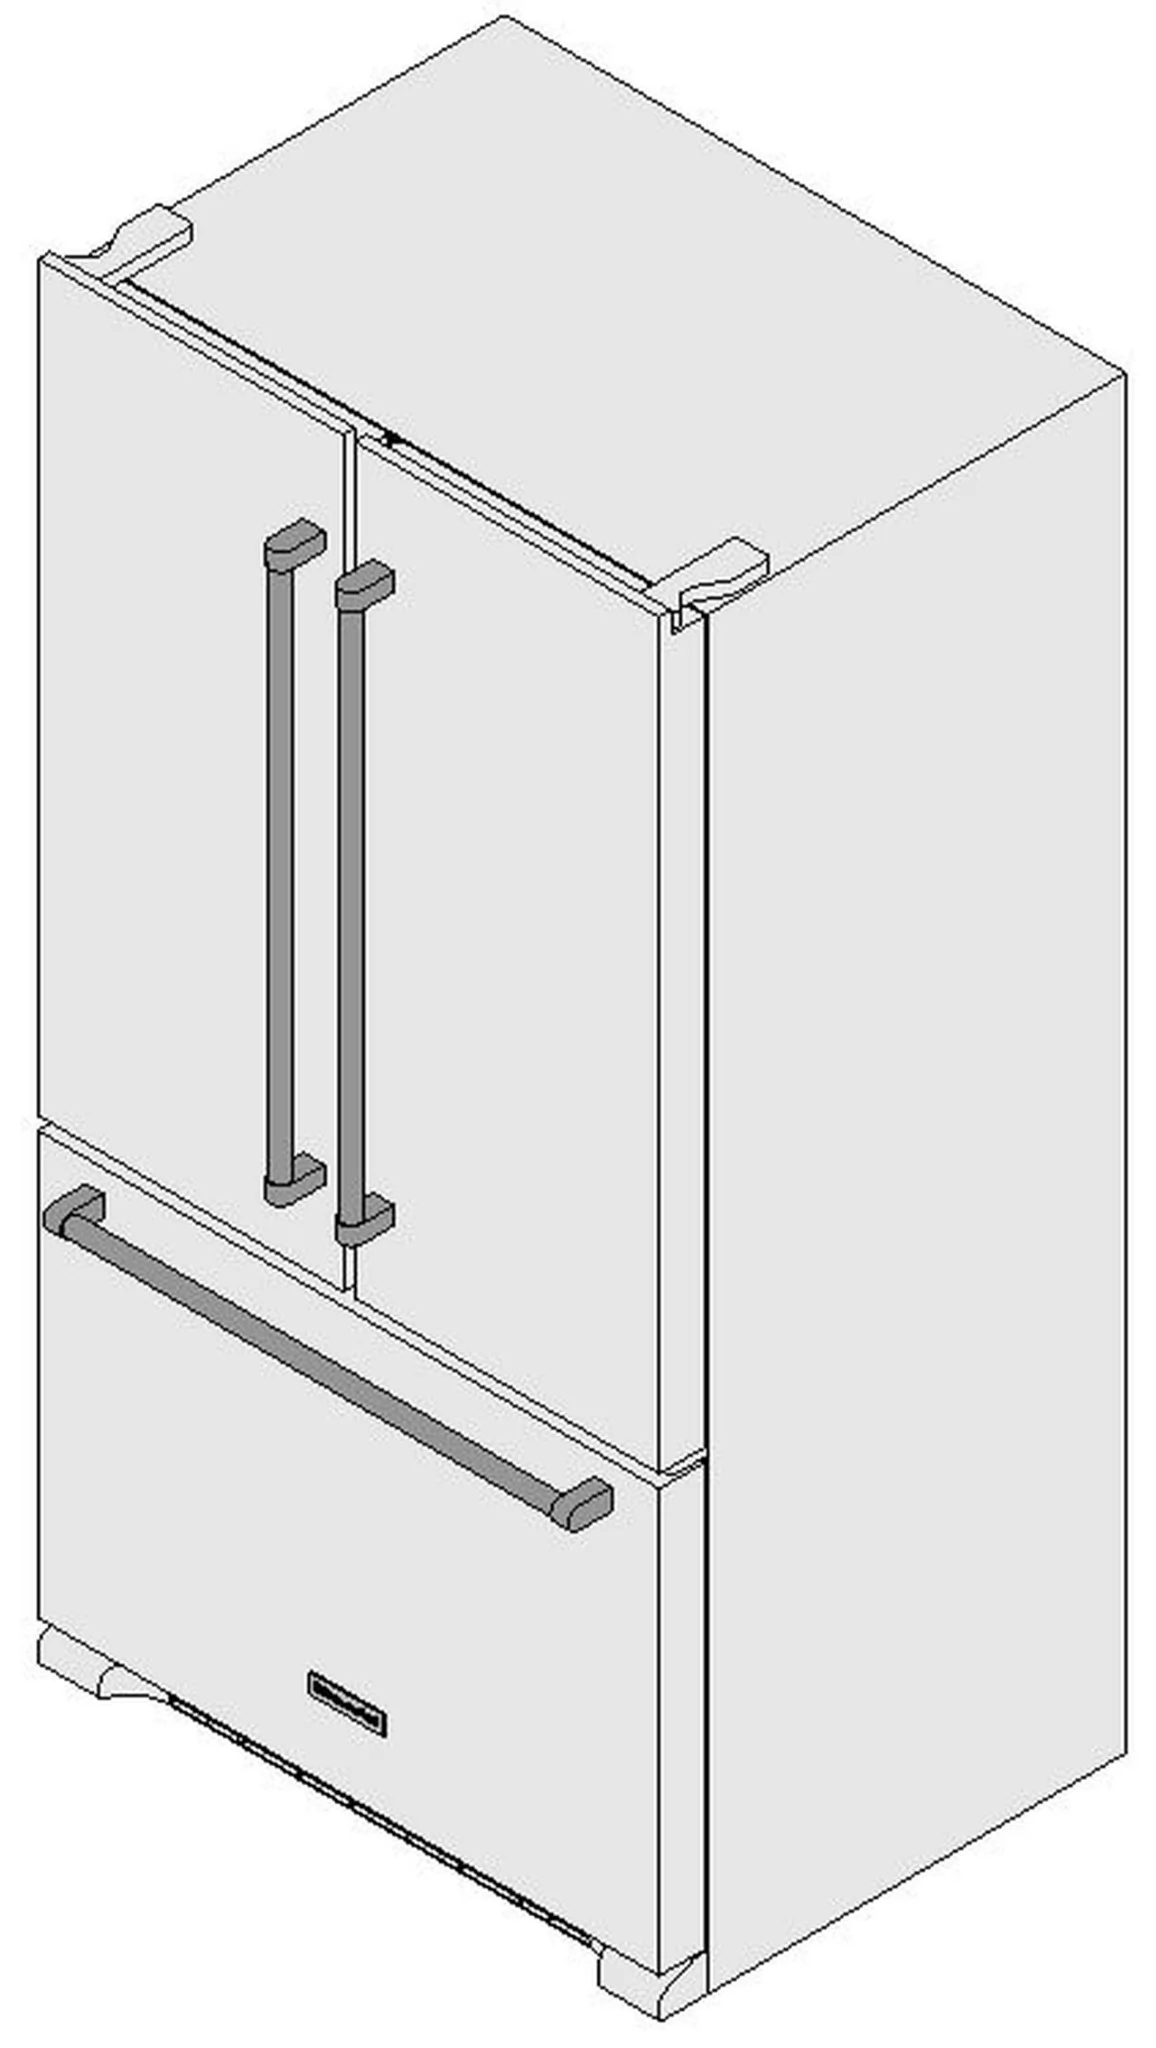
We later received a revised brief, with new selections for the island finish, hood, lighting, dining furniture, doors, hardware and refrigerator. We updated the 3D scene and produced a new rendering from that direction. The screenshot and comparison below both belong to this revised design; unchanged specifications were carried forward.
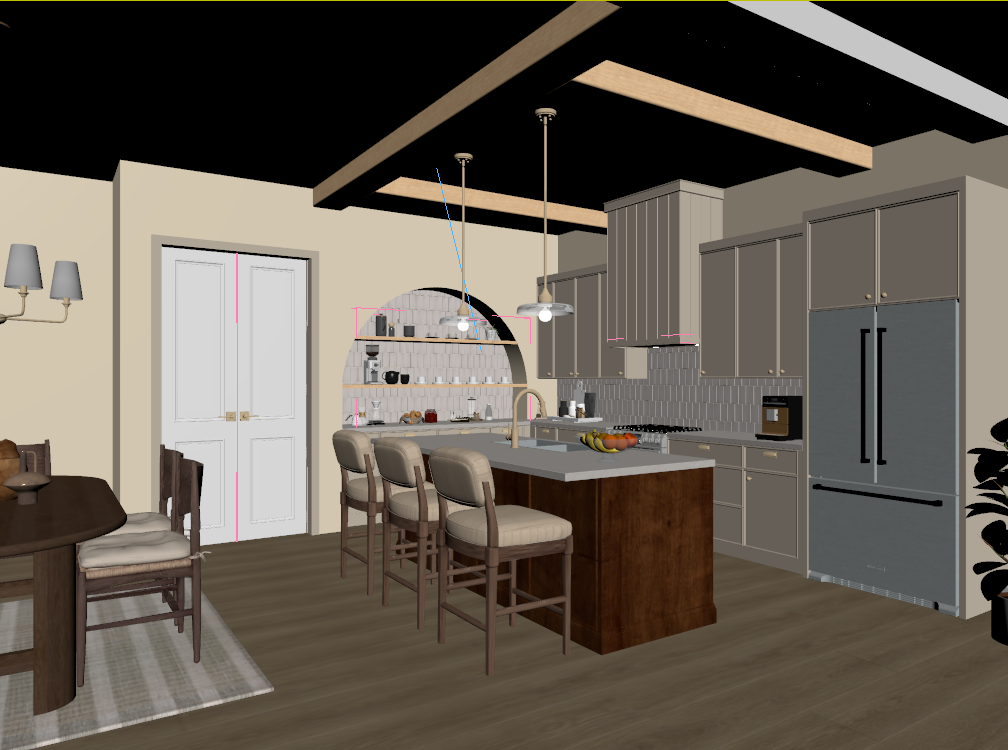
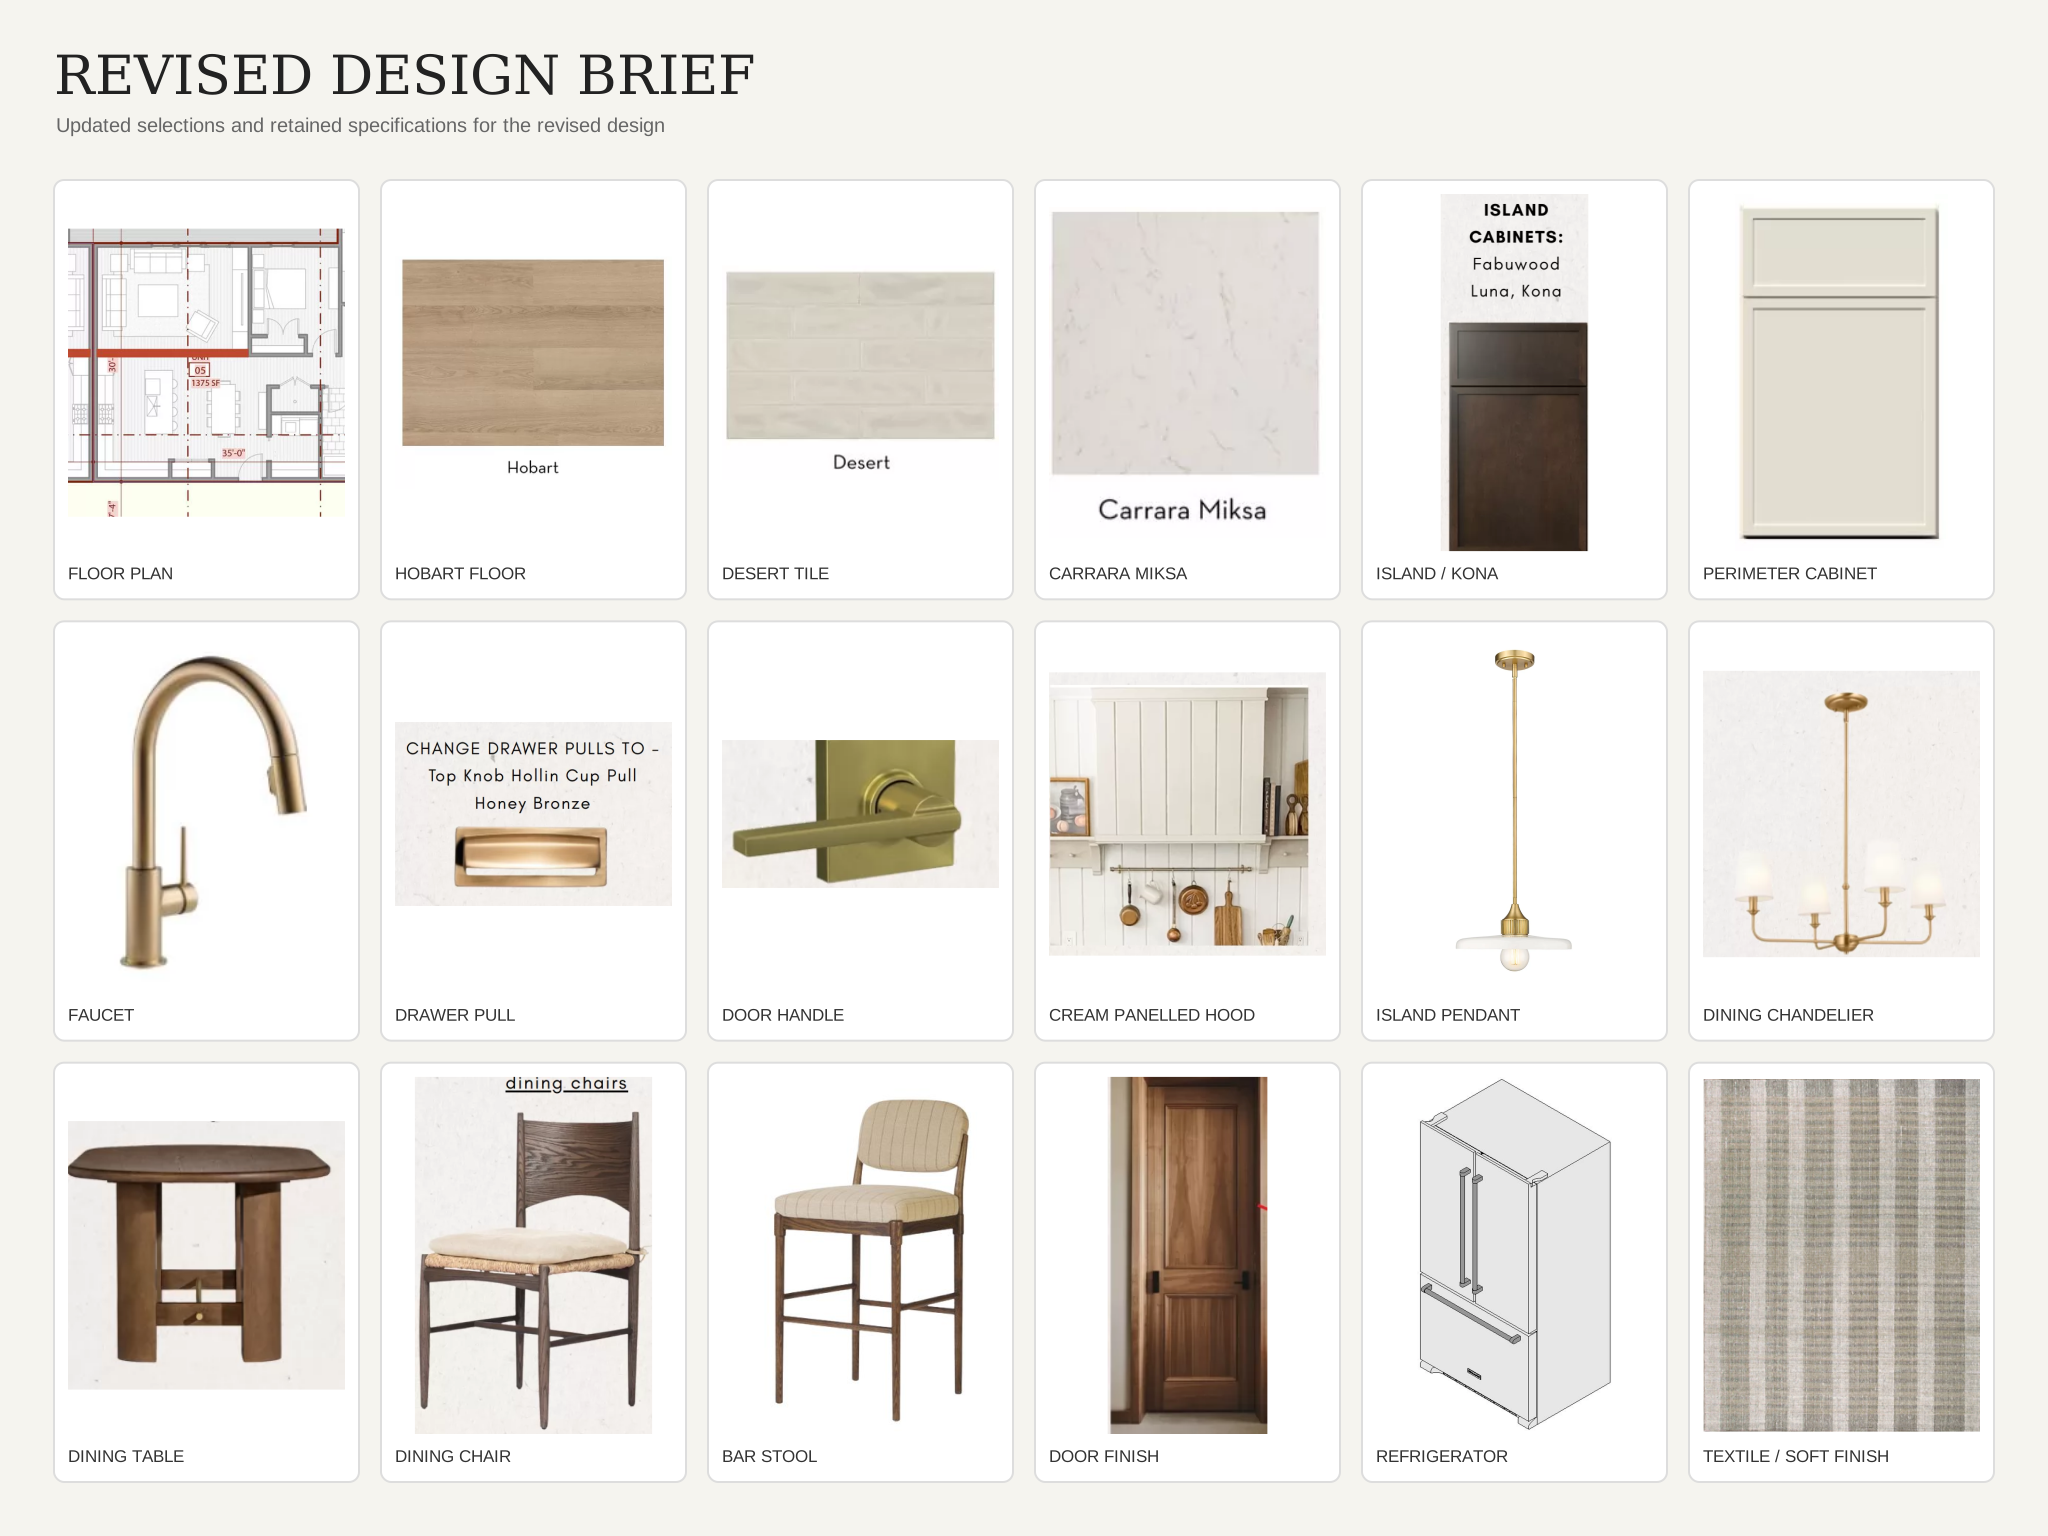
The changed selections are shown below. The revised moodboard also includes the specifications retained from the original brief.


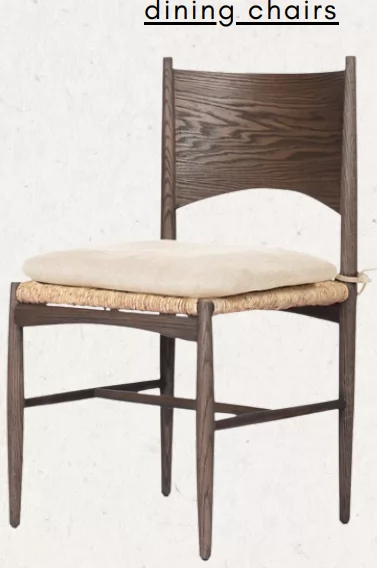
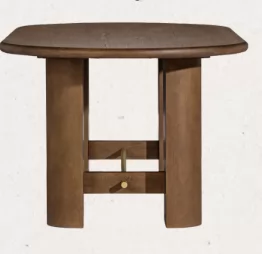
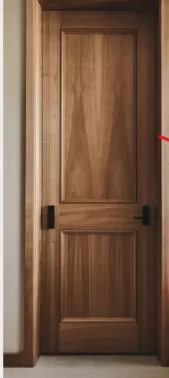
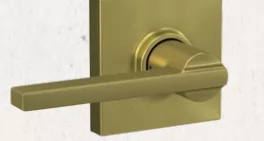
Behind the scenes / how we built the images
From reference to 3D model
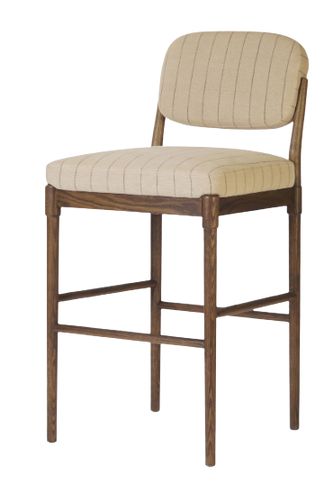
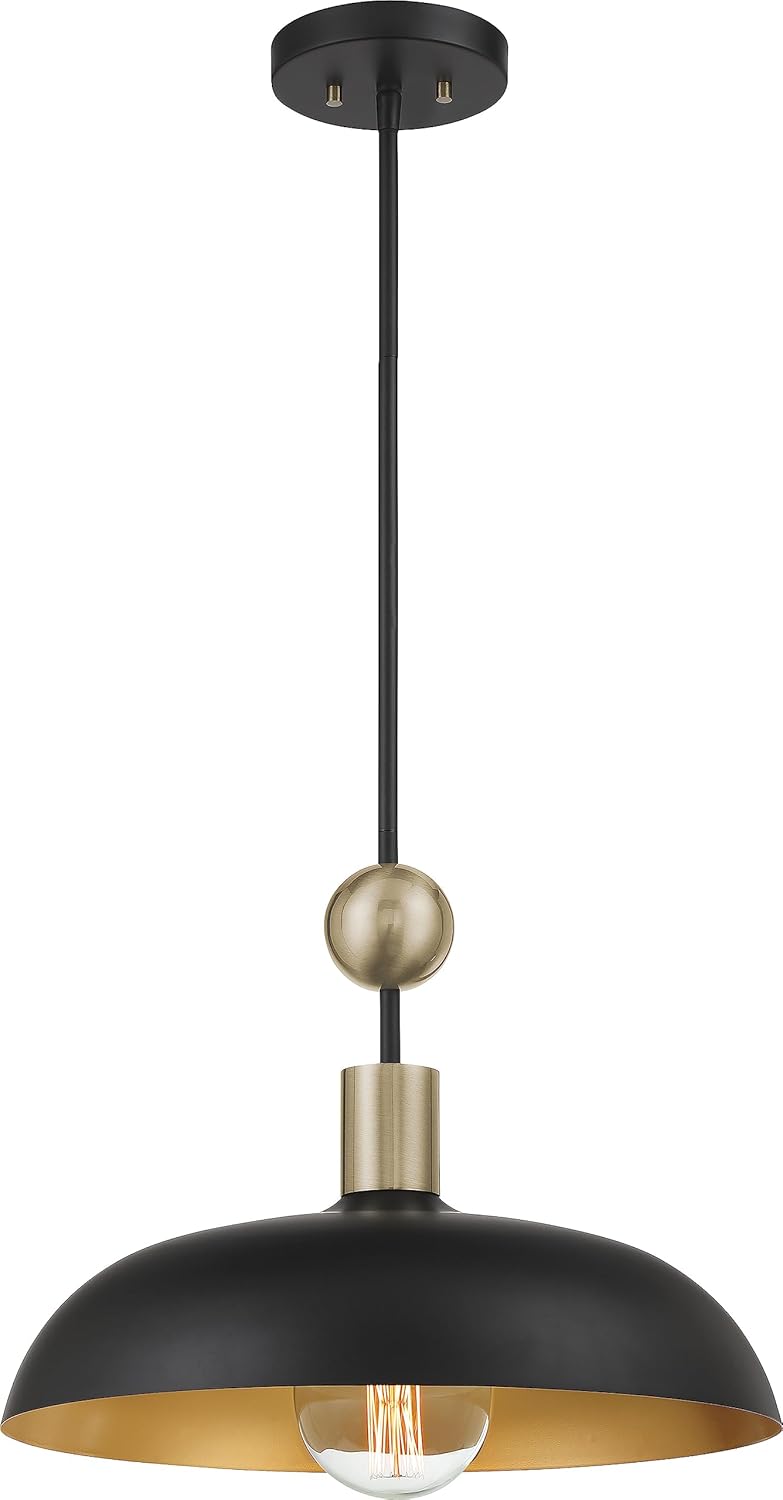
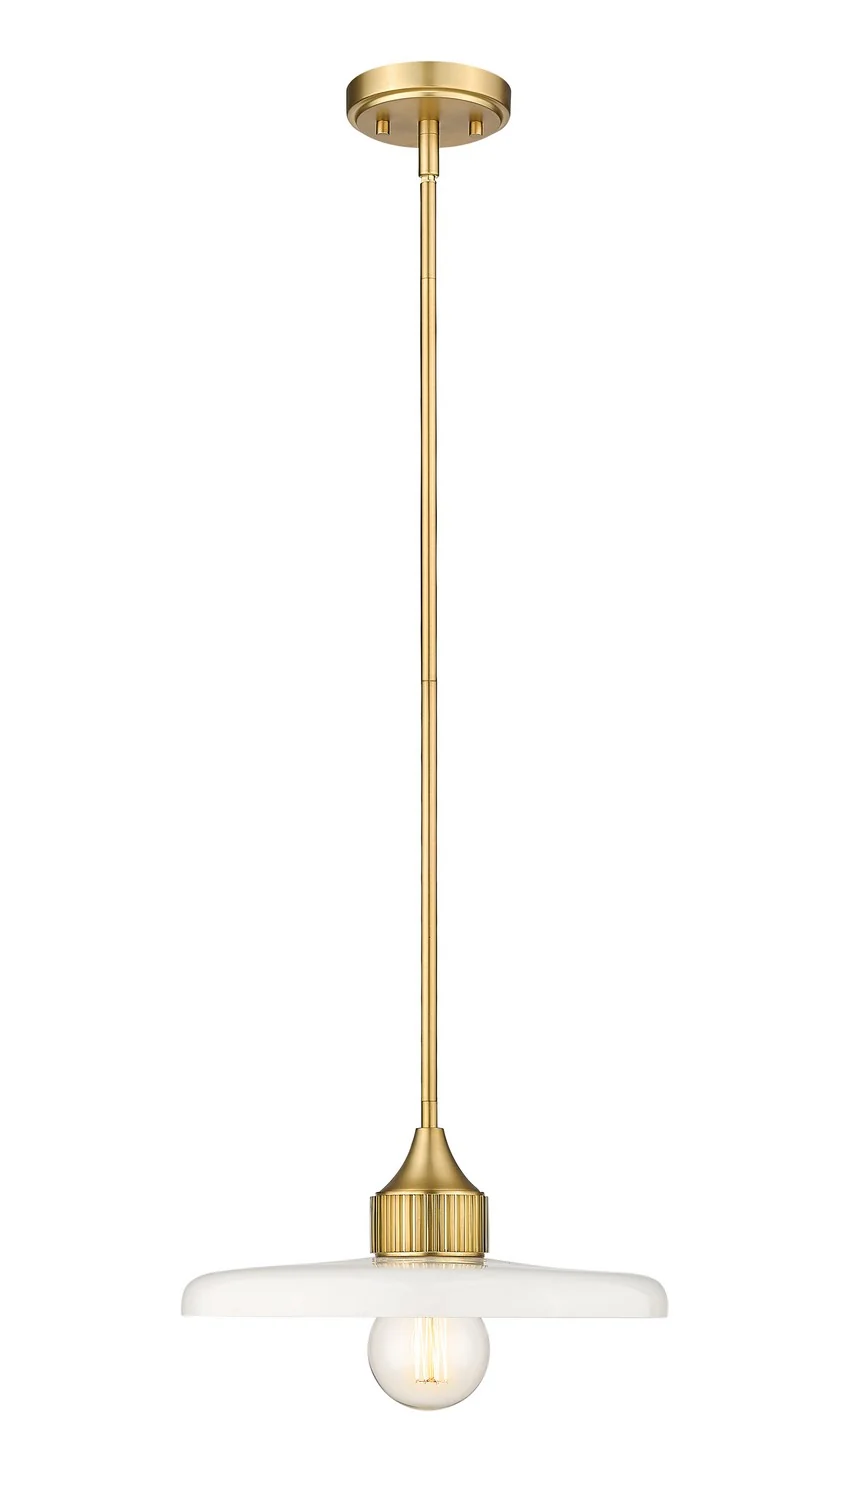
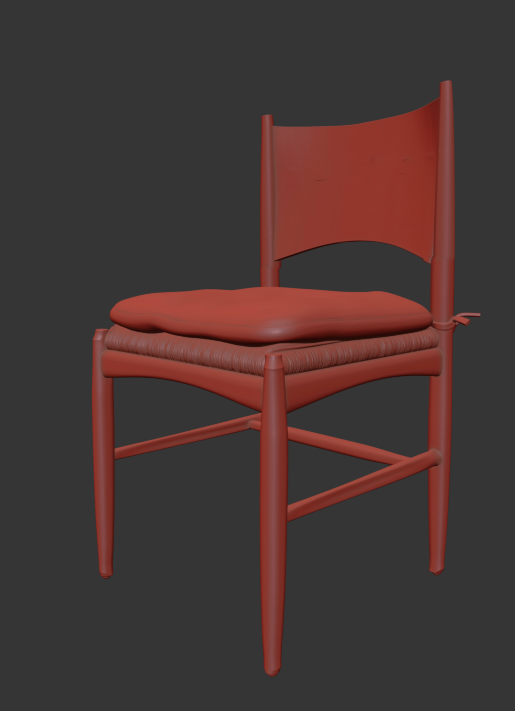
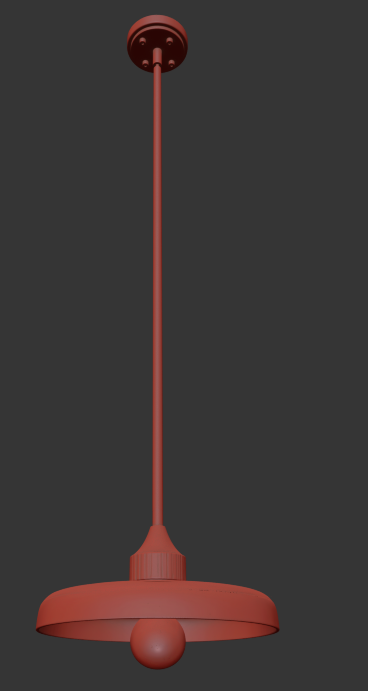
To build the scene accurately, we used reverse-image search to identify products, then gathered dimensions and higher-resolution photographs from several angles. The chair and pendant below are examples from the revised design. Their references helped us recreate details that the small brief images did not clearly show.
Dining chair
We modelled the curved back, woven seat, cushion and timber frame.
Pendant light
We recreated the ceiling mount, stem, ribbed housing and shade before applying the final materials.
Finishes, textures and material detail
The finishes needed to work together across the room, not just match individual samples. We developed the timber, stone, painted cabinetry, metal and fabrics with attention to colour, texture scale and the way each surface responds to light.
A small sample is a starting point. We checked product dimensions and photographs of installed finishes to understand their scale and appearance across larger surfaces. Where a texture repeated too obviously, we made variations in Photoshop to give it a more natural appearance.
Colour is only part of the match. Wood grain direction, stone veining, fabric weave, surface sheen and reflections all influence how a finish reads. Developing these details together helped us show how the selected materials would sit alongside one another in the finished space.
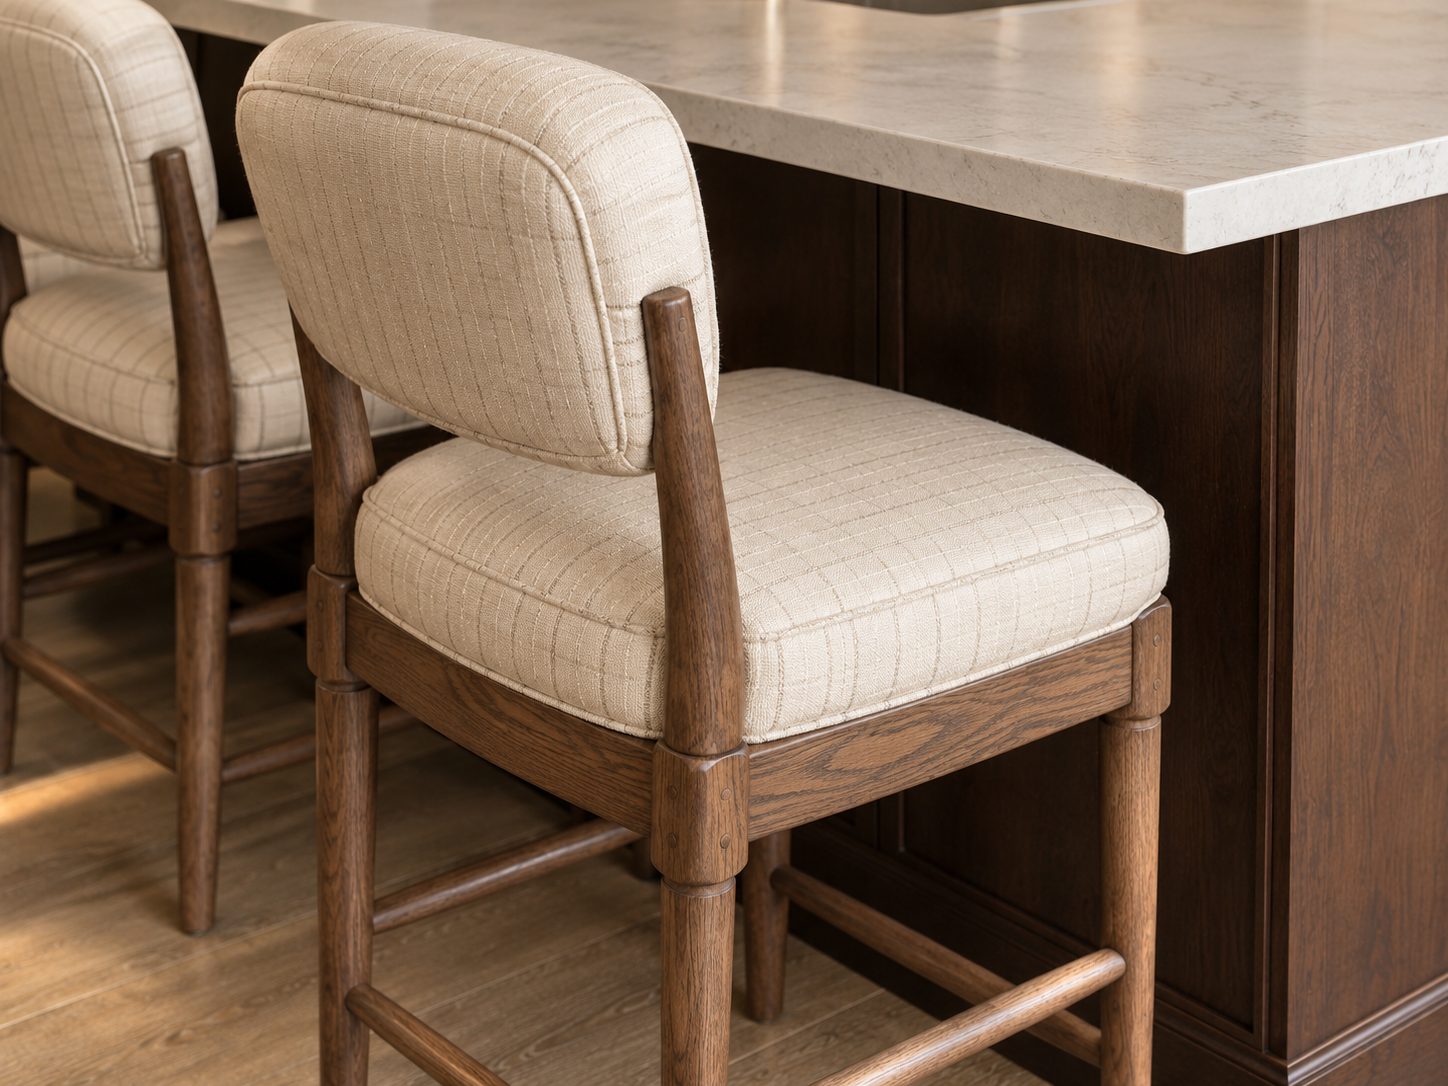
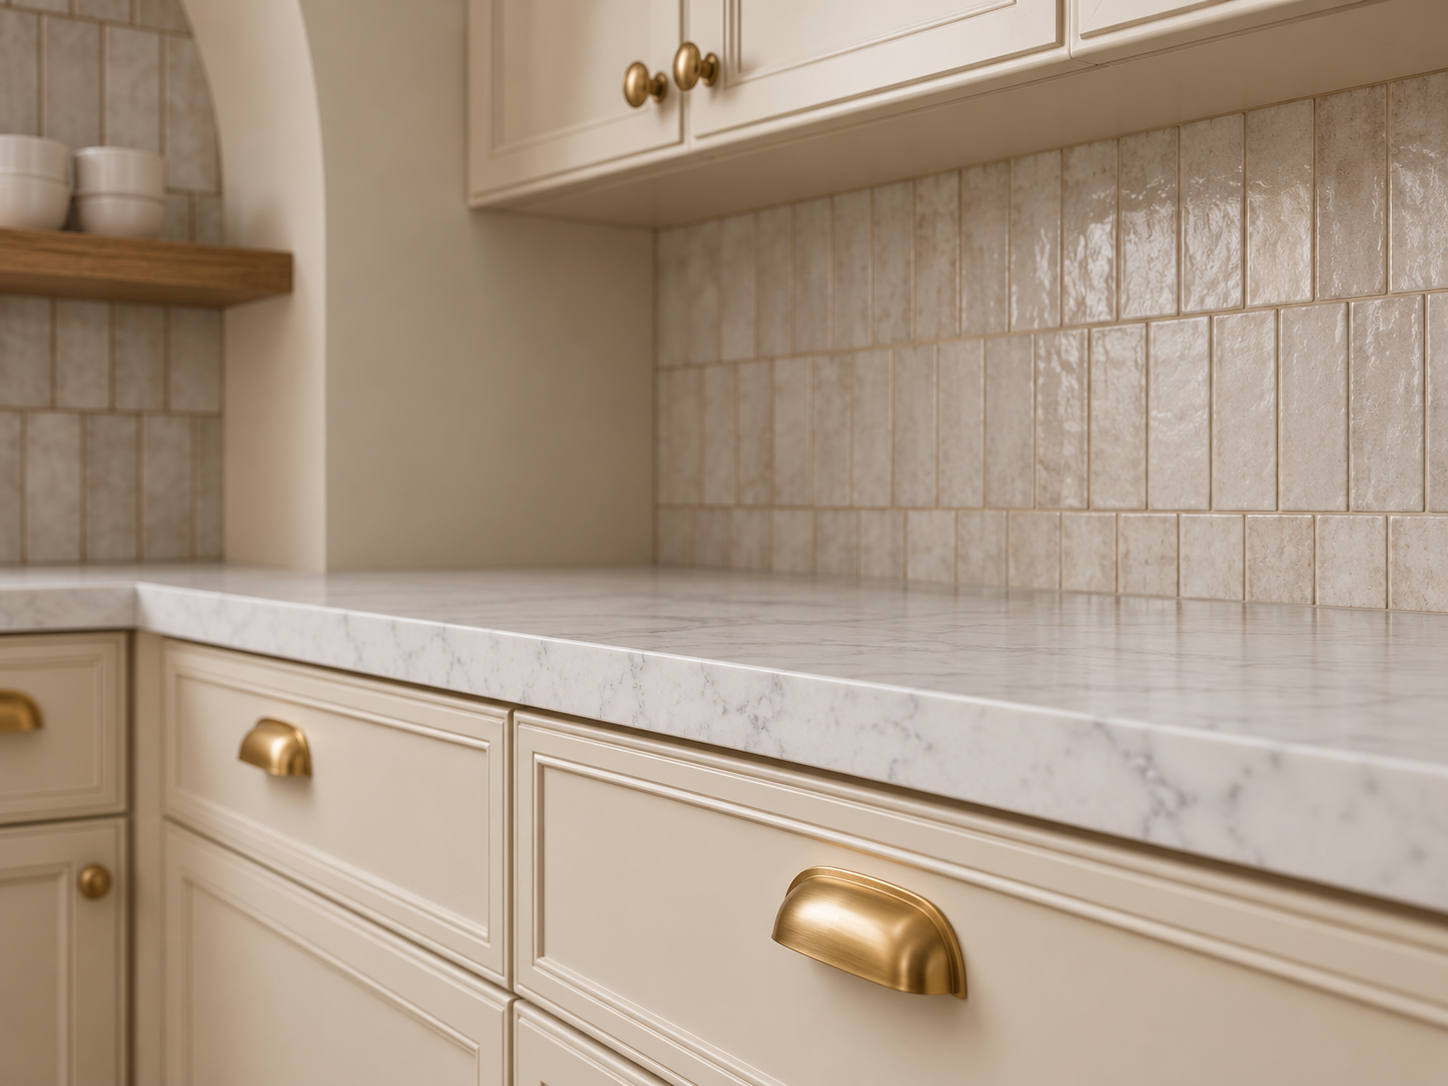
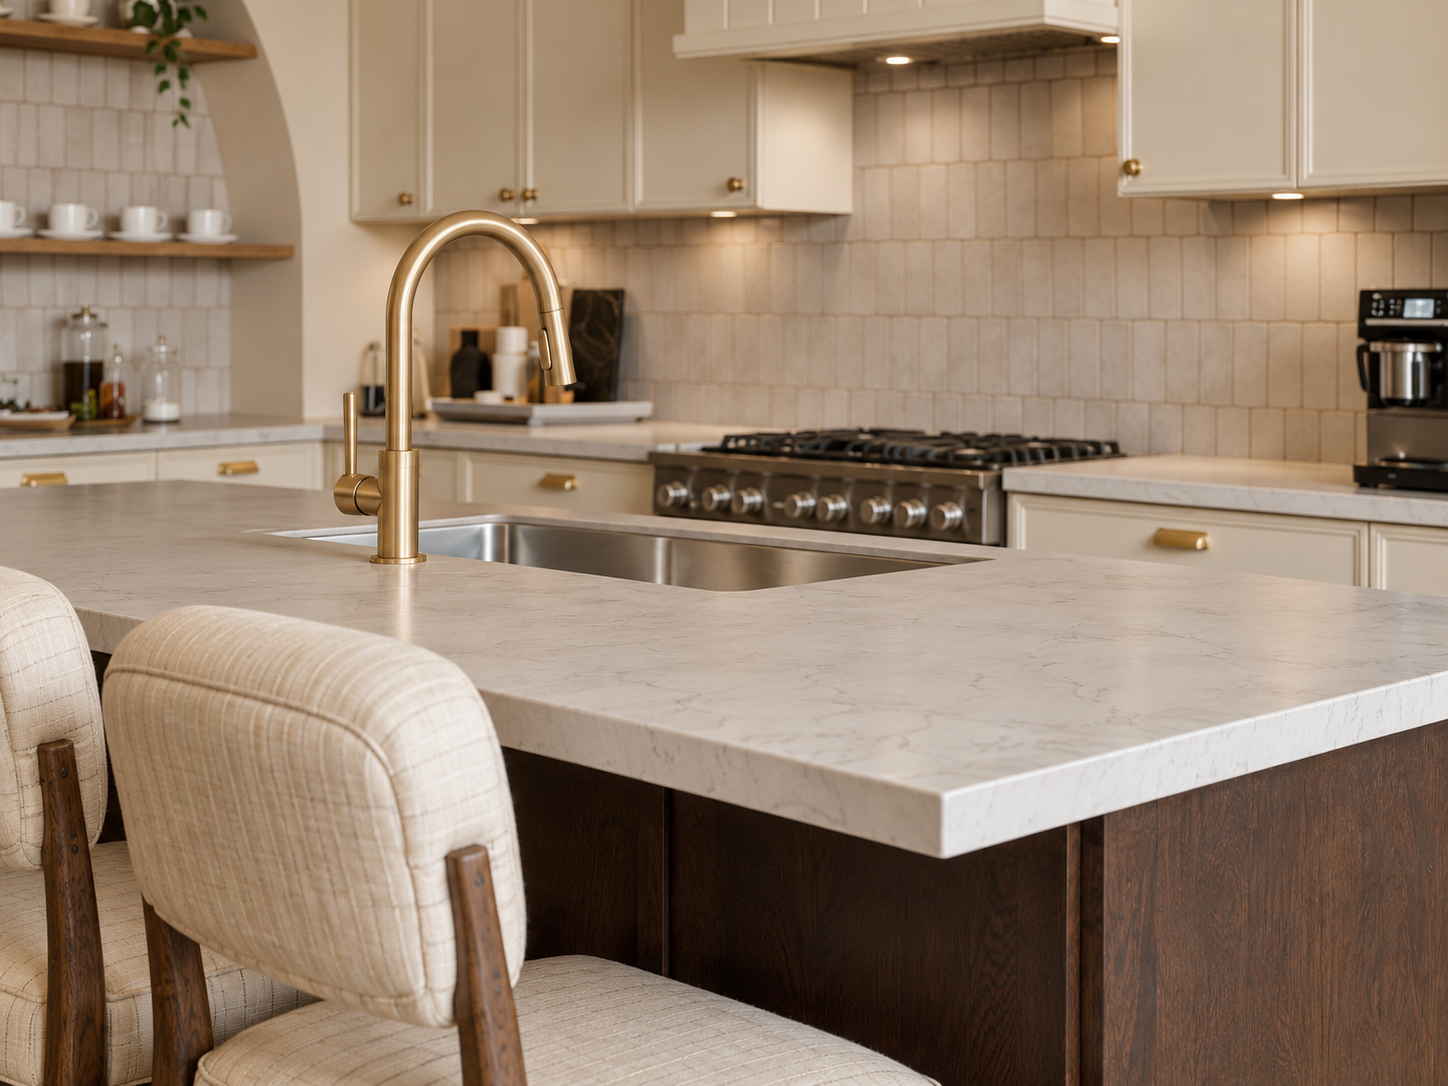
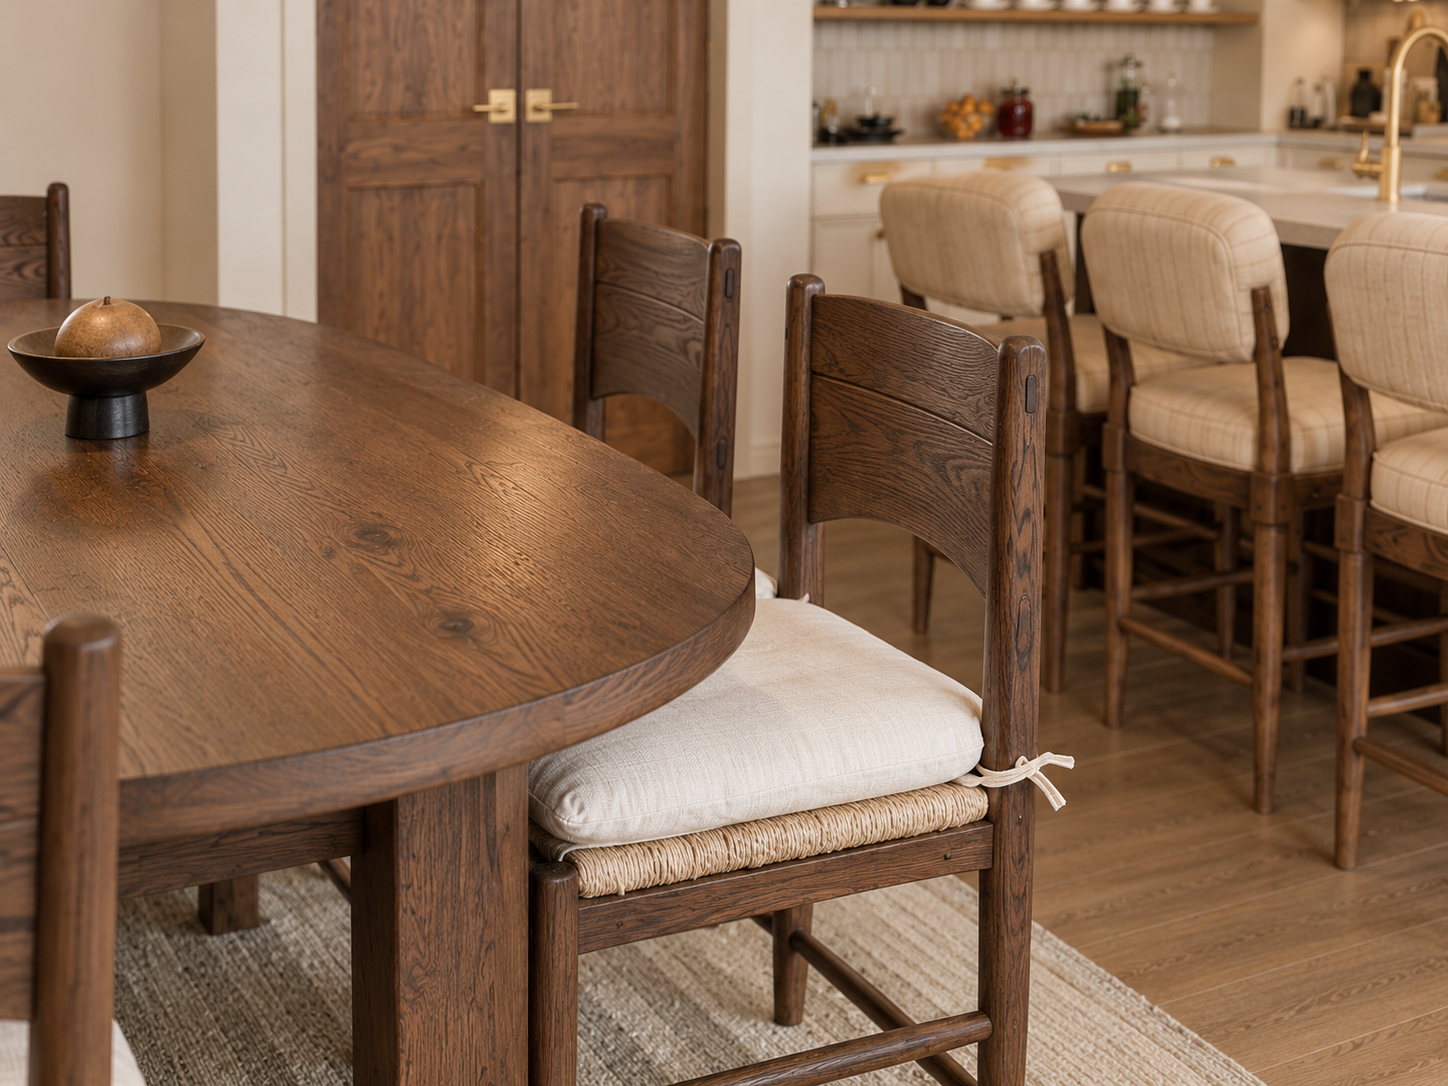
Select a close-up to view the material detail at full size.
From client preview to finished image
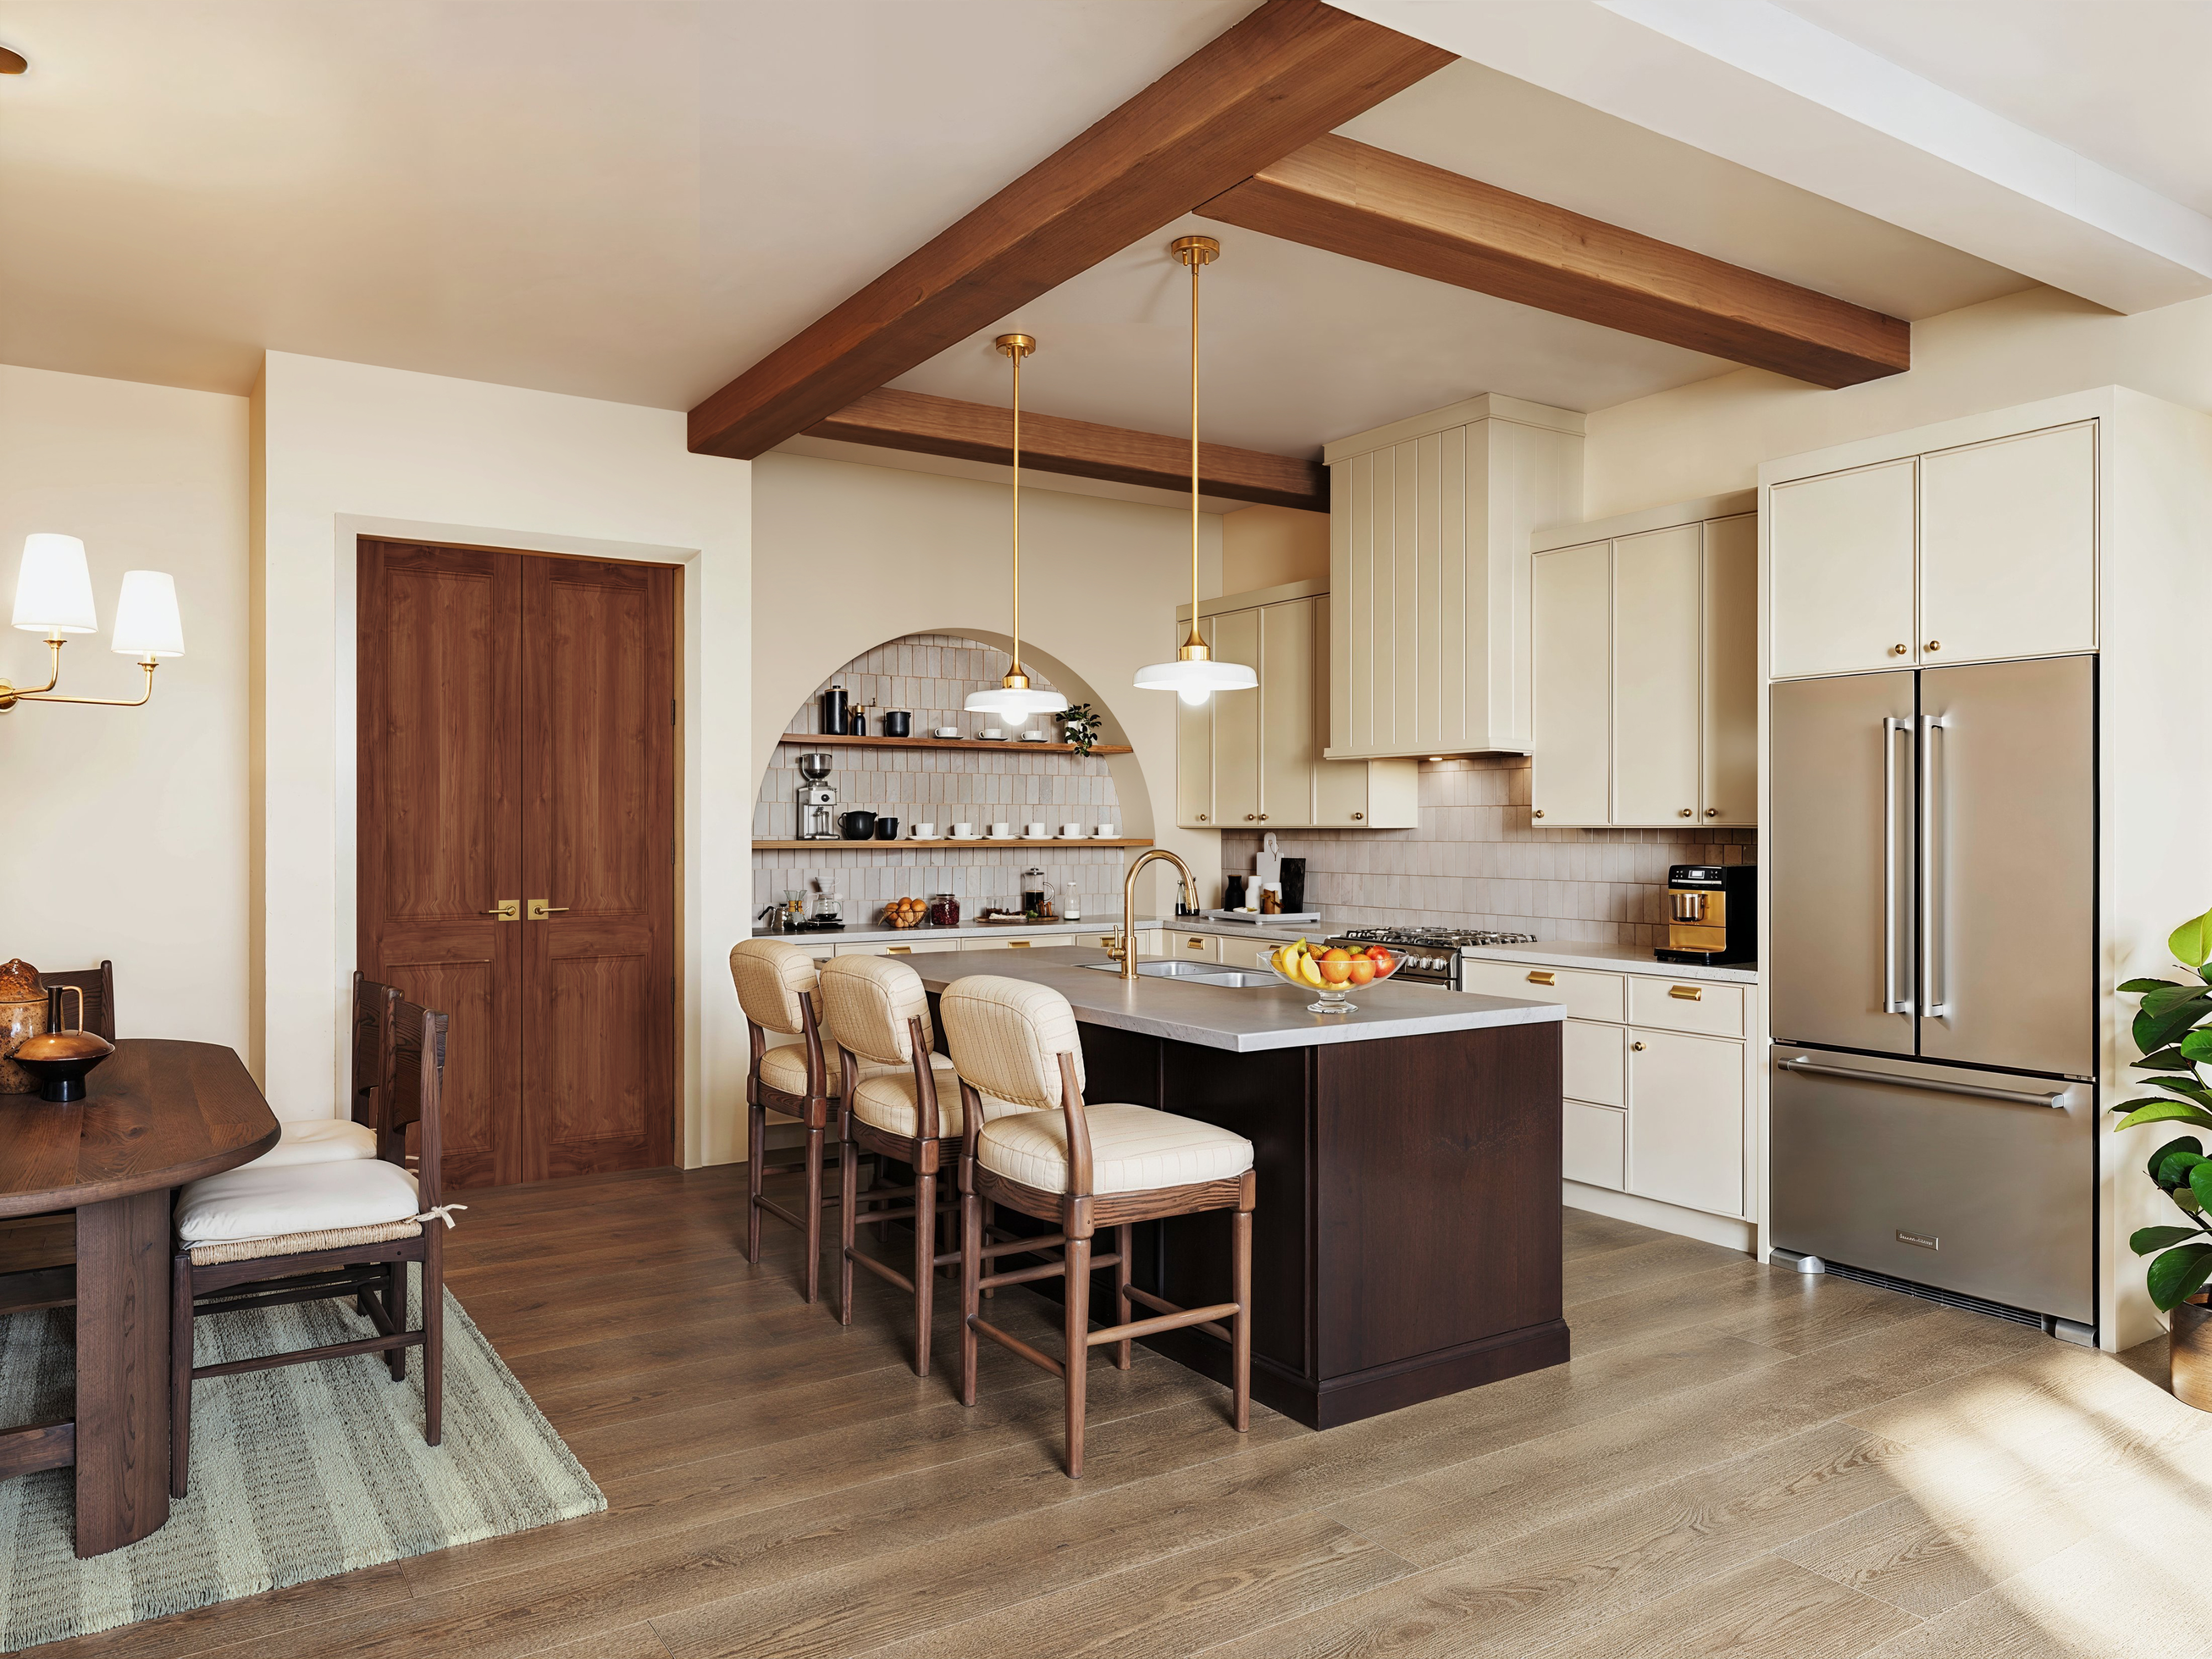
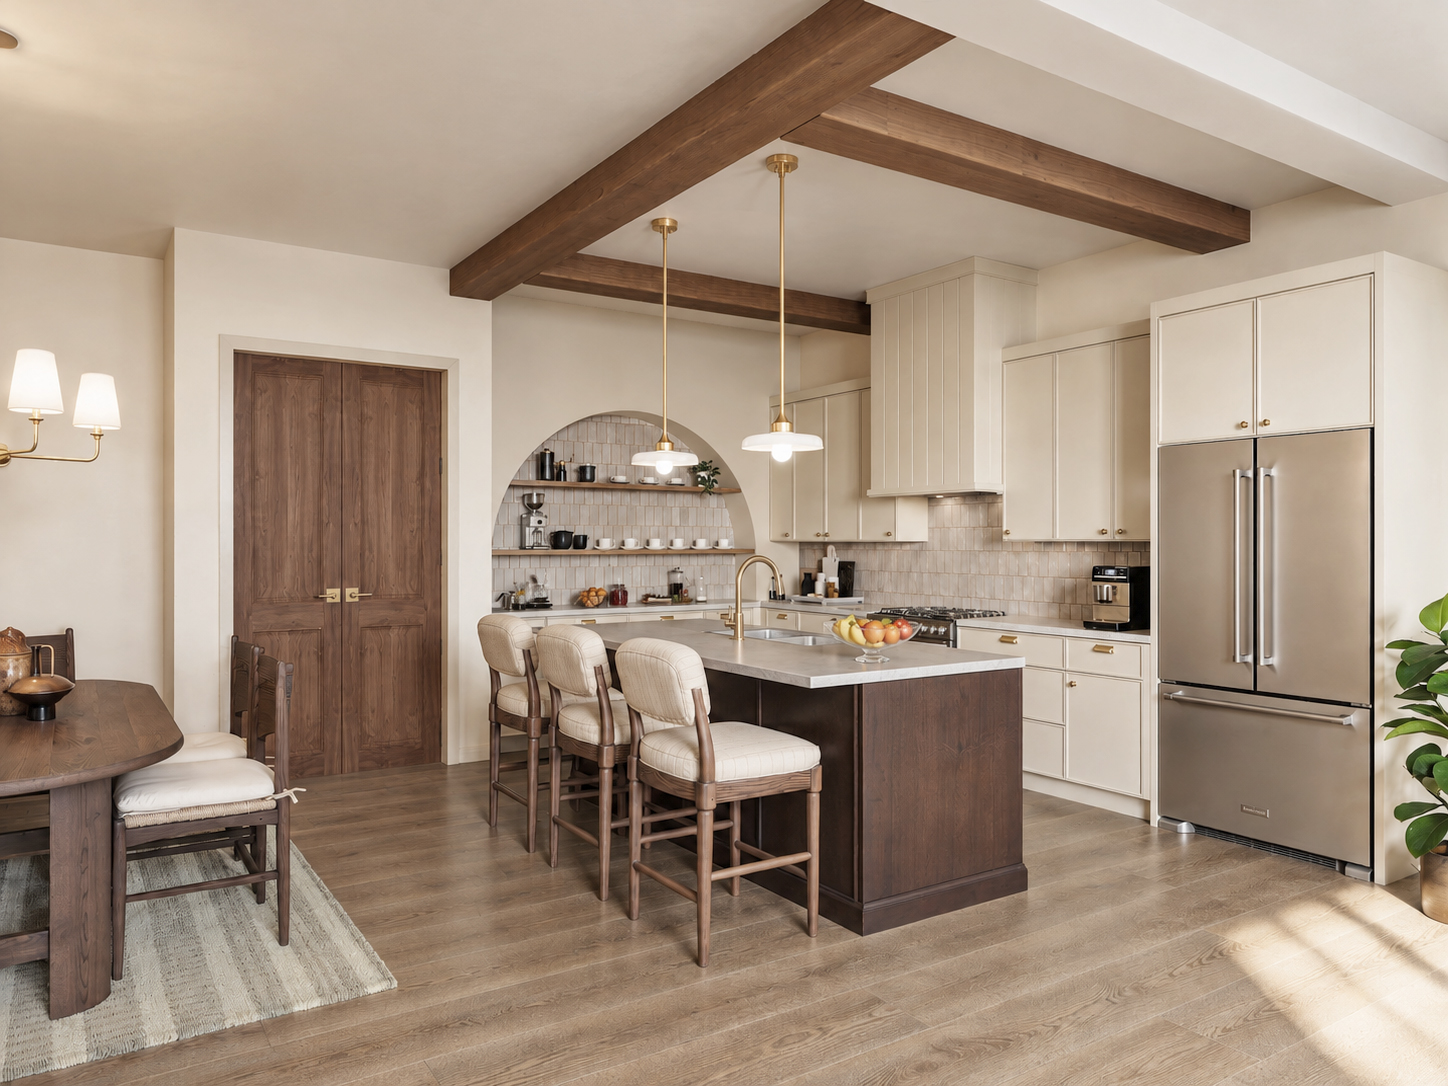
We develop the image through four stages, from an early view of the scene to the final enhancement. Each serves a different purpose: reviewing the camera and composition, selecting elements for editing, rendering the finished scene and adding a final layer of realism.
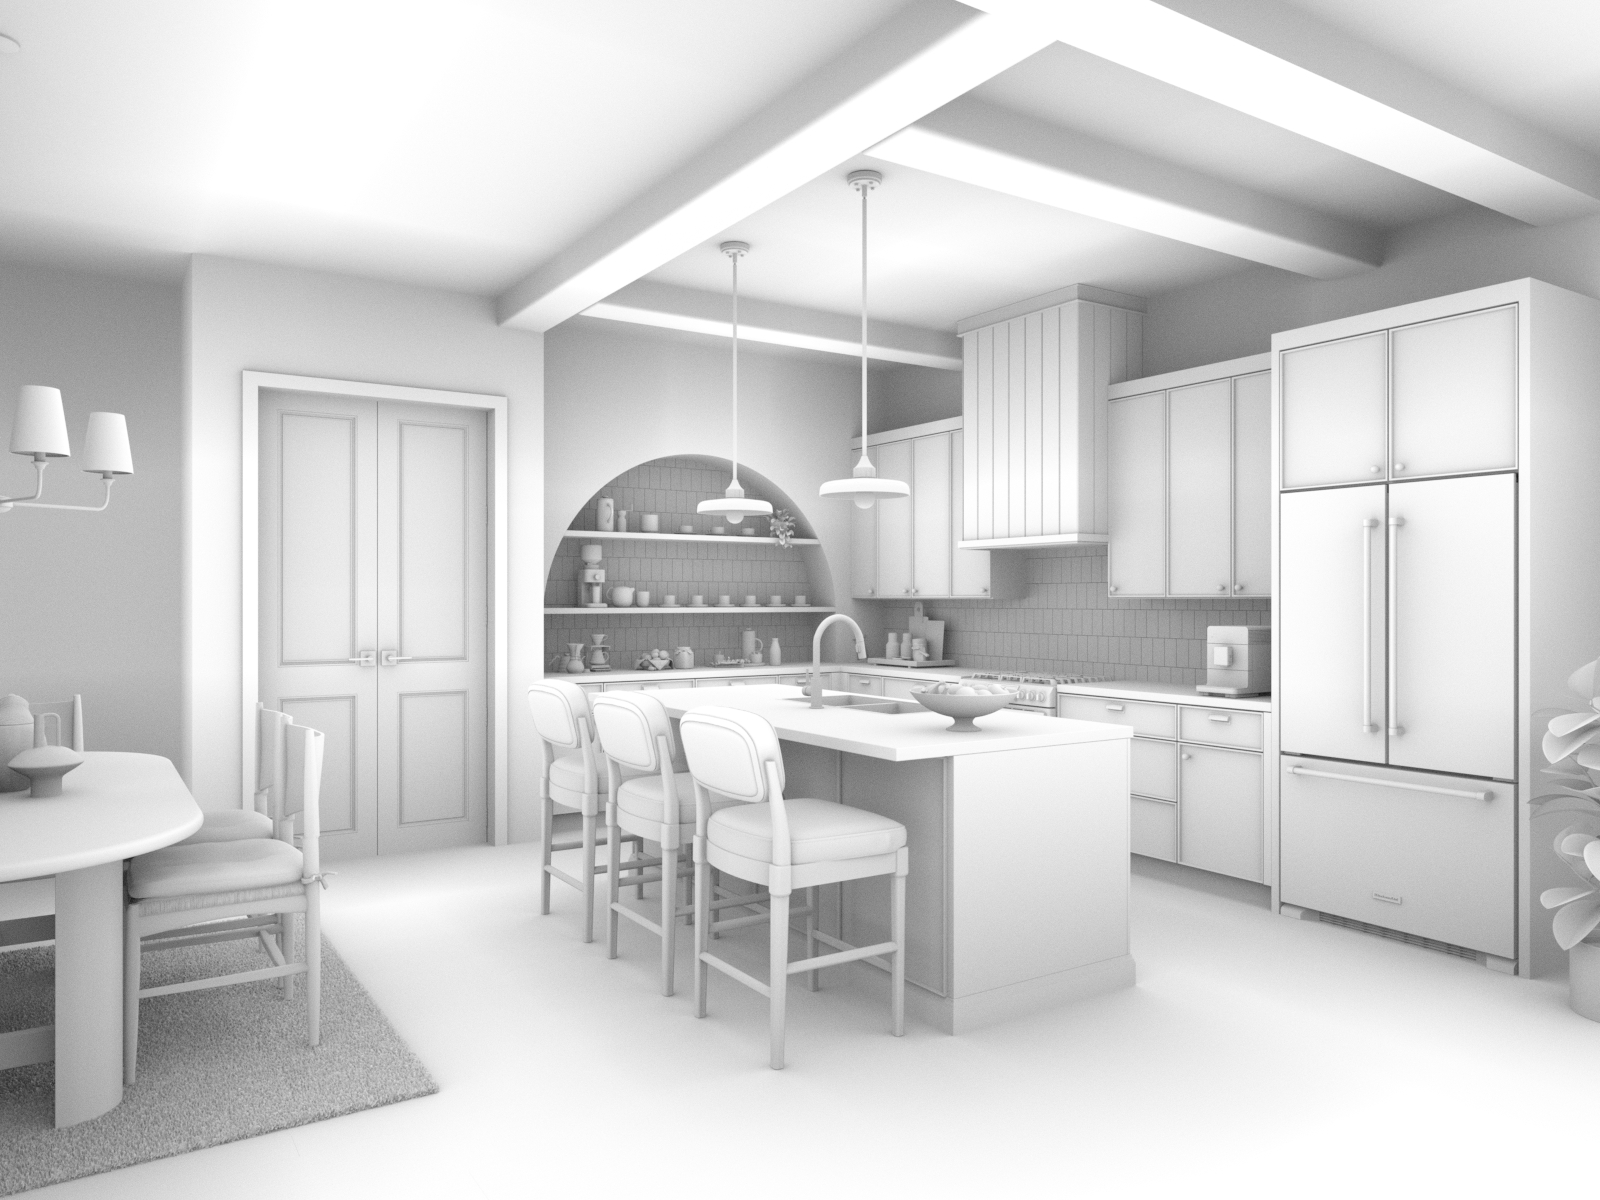
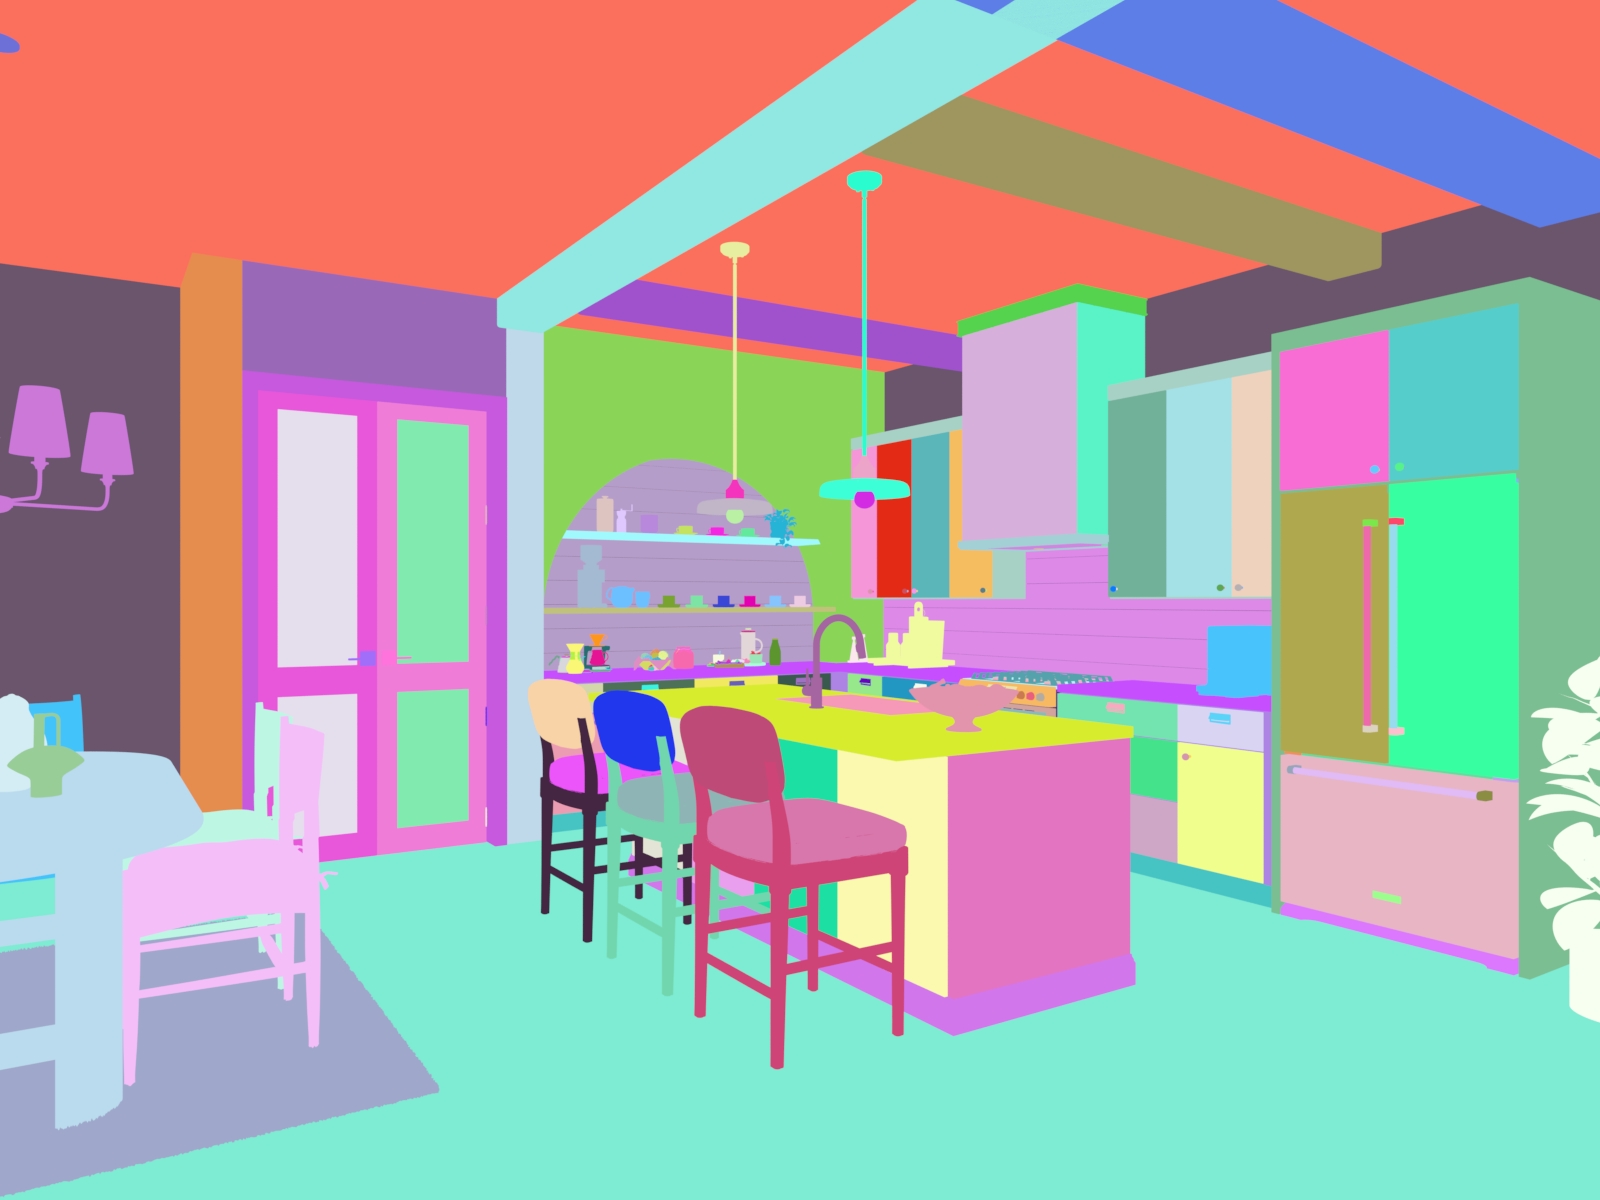
AI as a final layer of realism
We use AI alongside Photoshop as a finishing tool, adding another layer of naturalism to an already realistic rendering. The 3D modelling, material development, lighting and composition provide the foundation. For this kitchen, the images below show our raw CGI render and its AI-enhanced version.
We were creating photorealistic architectural visualizations long before today's AI image tools. We were also early adopters of AI image workflows, using tools such as Stable Diffusion before today's mainstream chat-based image tools became widely available. That experience still drives our work: AI helps refine the presentation, while the agreed design remains the reference for the architecture, furniture and finishes.
Our 3D background gives us a practical advantage when directing AI. We understand how geometry, materials and lighting should behave, so we can guide the result and recognise what needs correction. We combine multiple specialised AI tools and multi-step workflows with 3D software and Photoshop, going beyond a single chat interface to refine the image with greater control.
AI-assisted animation
We also use AI to create short animations from our rendered images. It gives clients an affordable way to add movement and atmosphere to a project presentation, using the visualization as a starting point.
The rendering gave the project team a shared visual reference for the latest agreed design, with the selected finishes and furniture shown together. That accuracy matters when the image is used to guide the real space through to completion.
Our experience includes work with Zaha Hadid Architects, Fogarty Finger and AI3, and projects associated with Tesla, Sports Illustrated and Walmart.
Research, accuracy and atmosphere
Need a rendering that can keep pace with the design?
Send us your plans, finish schedule, reference images or existing 3D model. We will review what is complete, identify what needs research or custom modelling and recommend the right visualization approach for the project.